Images
Images help tell a story. You can add images in Presenter locally, or from the web. In addition, you have plenty of customization options to make sure your images display exactly as you want them to.
Adding Images
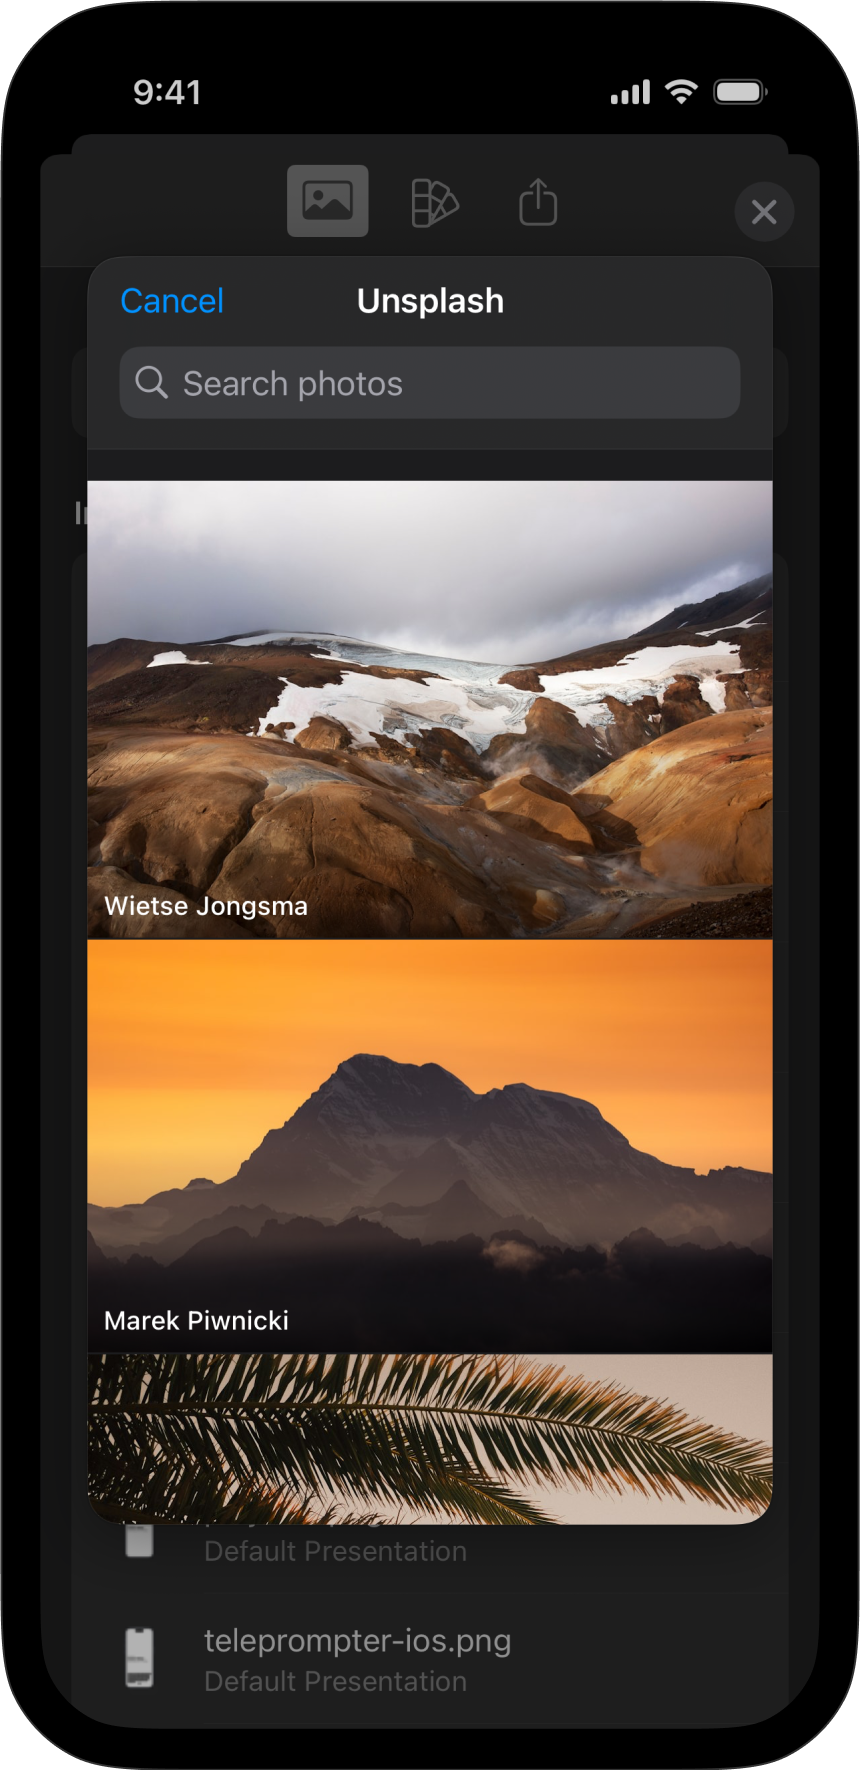
To add an image, use the Media menu, Unsplash integration—or simply copy/paste, or drag-and-drop from anywhere. With Presenter for iOS you can add both local images, or link directly to images on the Internet.
The Share Sheet will initially open in a half-screen view. Simply swipe up to reveal the full menu.


Presenter supports multiple image formats:
| Format | Extension |
|---|---|
| Portable Network Graphics | .apng, .png |
| Graphics Interchange Format | .gif |
| WebP | .webp |
| Joint Photographic Experts Group | .jpg, .jpeg |
| Tagged Image File Format | .tif, .tiff |
| Scalable Vector Graphics | .svg |
| Portable Document Format | .pdf |
💡 To use local images in Presenter, you first need to add them to the Media Manager, which gives iA Presenter permission to access the file. From the Media menu, select Add Media.
Syntax
Presenter supports Markdown syntax for images, which you enter like this:

However, an easier way is to use Content Blocks Syntax, where you add the image’s path or URL. Open the Media menu, head to Add Media, then select your preferred option (Library, Files, Unsplash or YouTube). Or, tap on an image that’s already in the Media Manager. Finally, you can drag-and-drop an image or copy-paste a URL directly into Presenter. For example:
/assets/image-name.png
https://source.net/image-name.jpeg
An .iapresenter file is a .zip that includes your Markdown presentation file and all your images. There’s no need to store images separately from your presentation. You can manage images from the Media menu.
💡 If you find yourself often using the same images across different presentations, try adding them to a custom theme to avoid unnecessary rework.
Presenter uses two virtual folders for its images:
assetsfor graphics you add to a presentation, e.g./assets/image-name.pngthemefor reference graphics that come bundled with a theme, e.g./Theme/image.jpg
Use the asset folders when working with graphics (images and video) in your presentation. You’ll use the theme folder to change graphics in layout themes.
The Media Menu
You’ll find the Media button on the bottom-left of the toolbar. From the Media menu you can:
- View a list of all your assets
- Delete images (swipe from right to left on the image)
- Rename images or get a preview (swipe from left to right on the image)
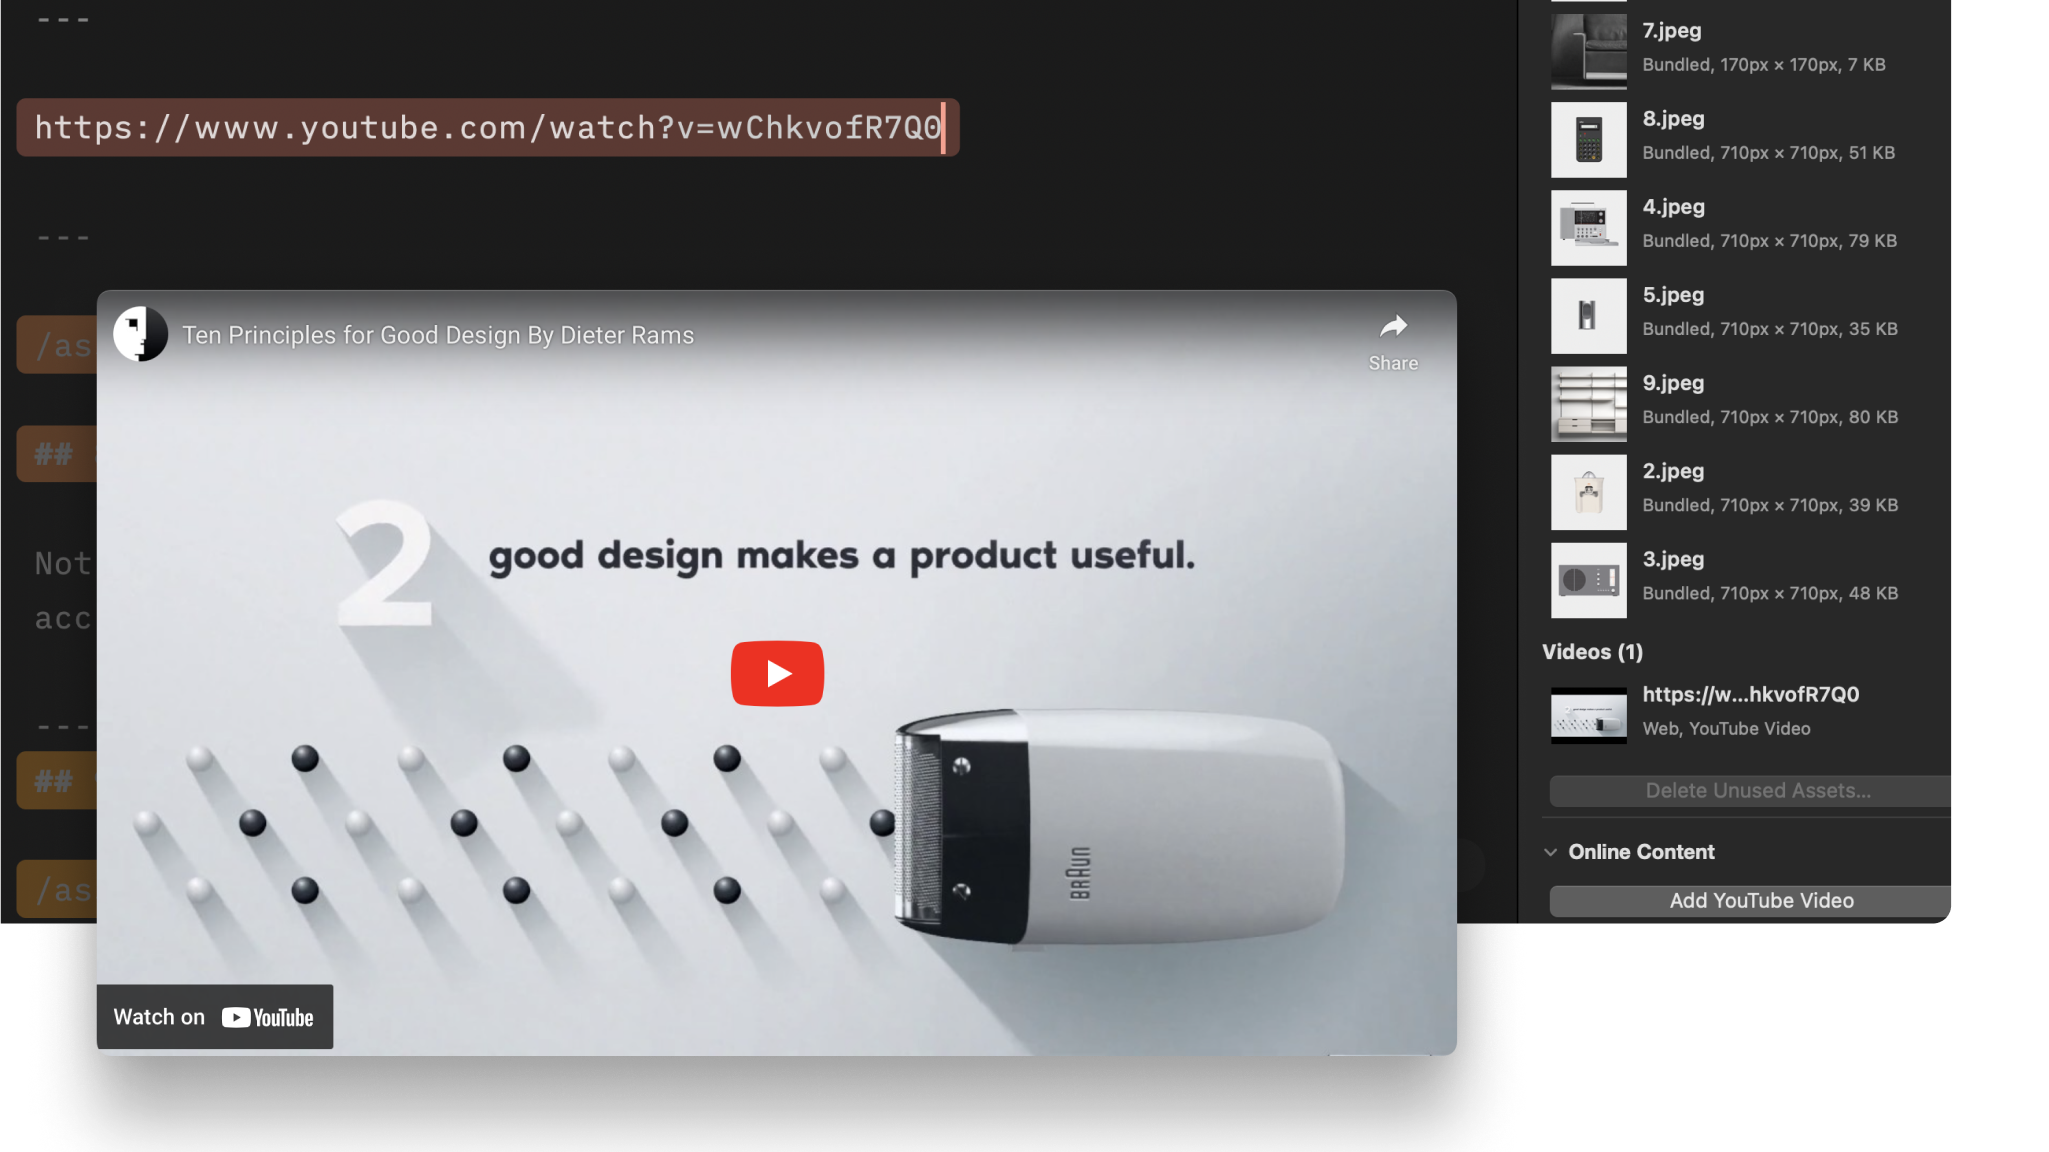
- Add YouTube video links
- Add images using Unsplash
💡 Use the Unsplash option to quickly find and insert free, high-quality photos into your slides. Presenter will automatically add any captions and credits from the source. Read more about Unsplash integration into Presenter, or check out the video.

Image Options
If you use Content Blocks Syntax, you can also control some of the image’s aspects via its metadata (this option isn’t available with Markdown syntax).
Click the dropdown arrow ⬇️ at the end of the image’s path in the Editor, then select an option. As you add or remove options you’ll see them listed in the Editor, for example:
/Theme/image1.jpg
size: contain
x: right
![]()
![]()
If you prefer keeping your hands on the keyboard, you can type image commands instead, for example:
- size: contain
- x: left
- y: bottom
- background: true
- filter: lighten
- opacity: 50%
Setting the Size
You can assign an image’s size to either Cover, or Contain.
Cover: The image is resized to entirely cover the available space while preserving its aspect ratio. The image will be clipped if it doesn’t exactly match the aspect ratio of its container.
Contain: The image fills all available space while preserving its aspect ratio. It will appear letterboxed if its aspect ratio doesn’t match the container’s aspect ratio.

Choosing an Aligment
Choose between:
- Center (default), left or right for horizontal alignment
- Center (default), top and bottom for vertical alignment
In Presenter, images live in containers. A container can be the full slide, a column, or a cell in a
grid. Keep in mind that vertical or horizontal alignment positions depend on the aspect ratio of the image and its container.
By default, an image will be a foreground element. This means it will share space with other elements, such as titles. If you prefer, set your image as a background that sits behind other elements.
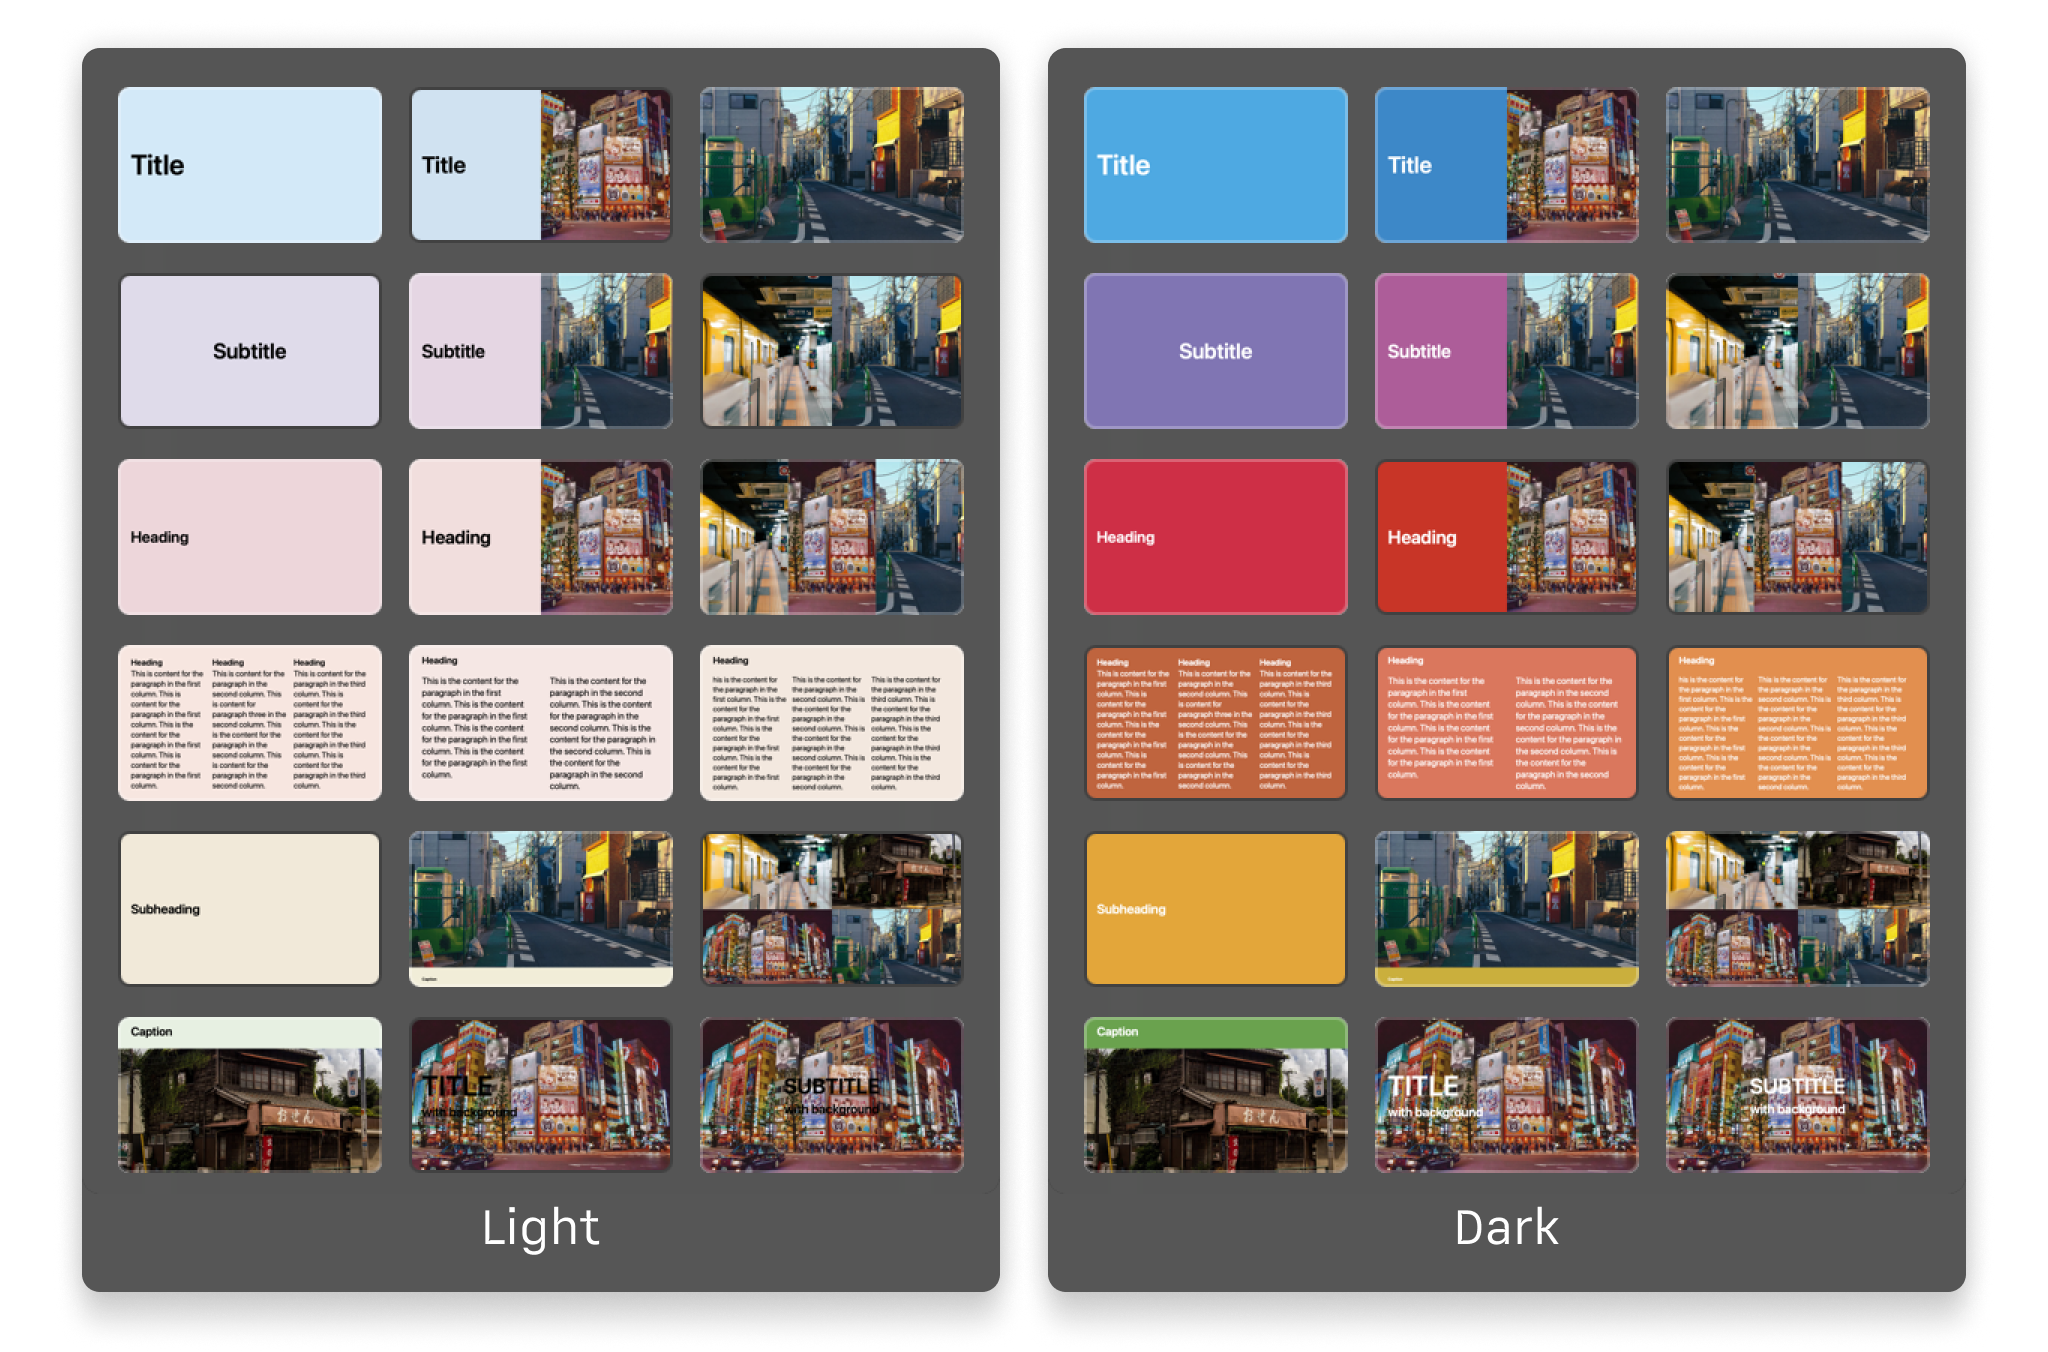
Order
You can choose between Content (default) or Background for your image. When set as Background, the title and other elements will appear on top of it. If the rendering looks odd due to the brightness or complexity of the image, try changing the filters or opacity to improve text visibility.
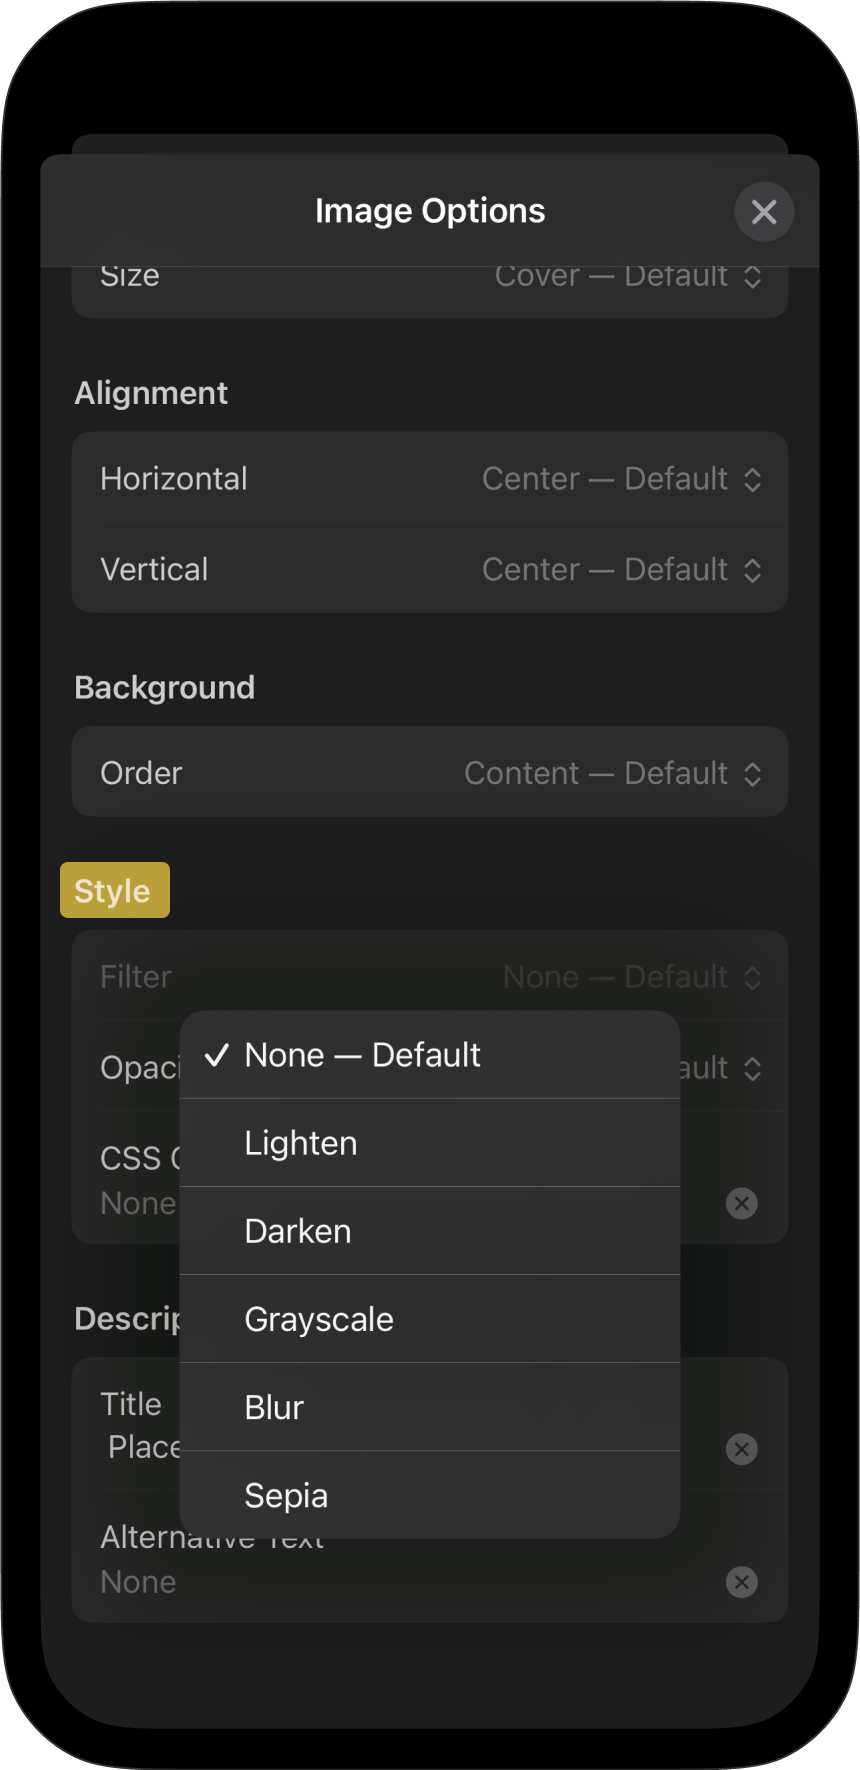
Style
You can add lighten, darken, grayscale, sepia, and blur filters to your image, as well as change its opacity. These options are useful when you use an image as a background with other elements on top of it.

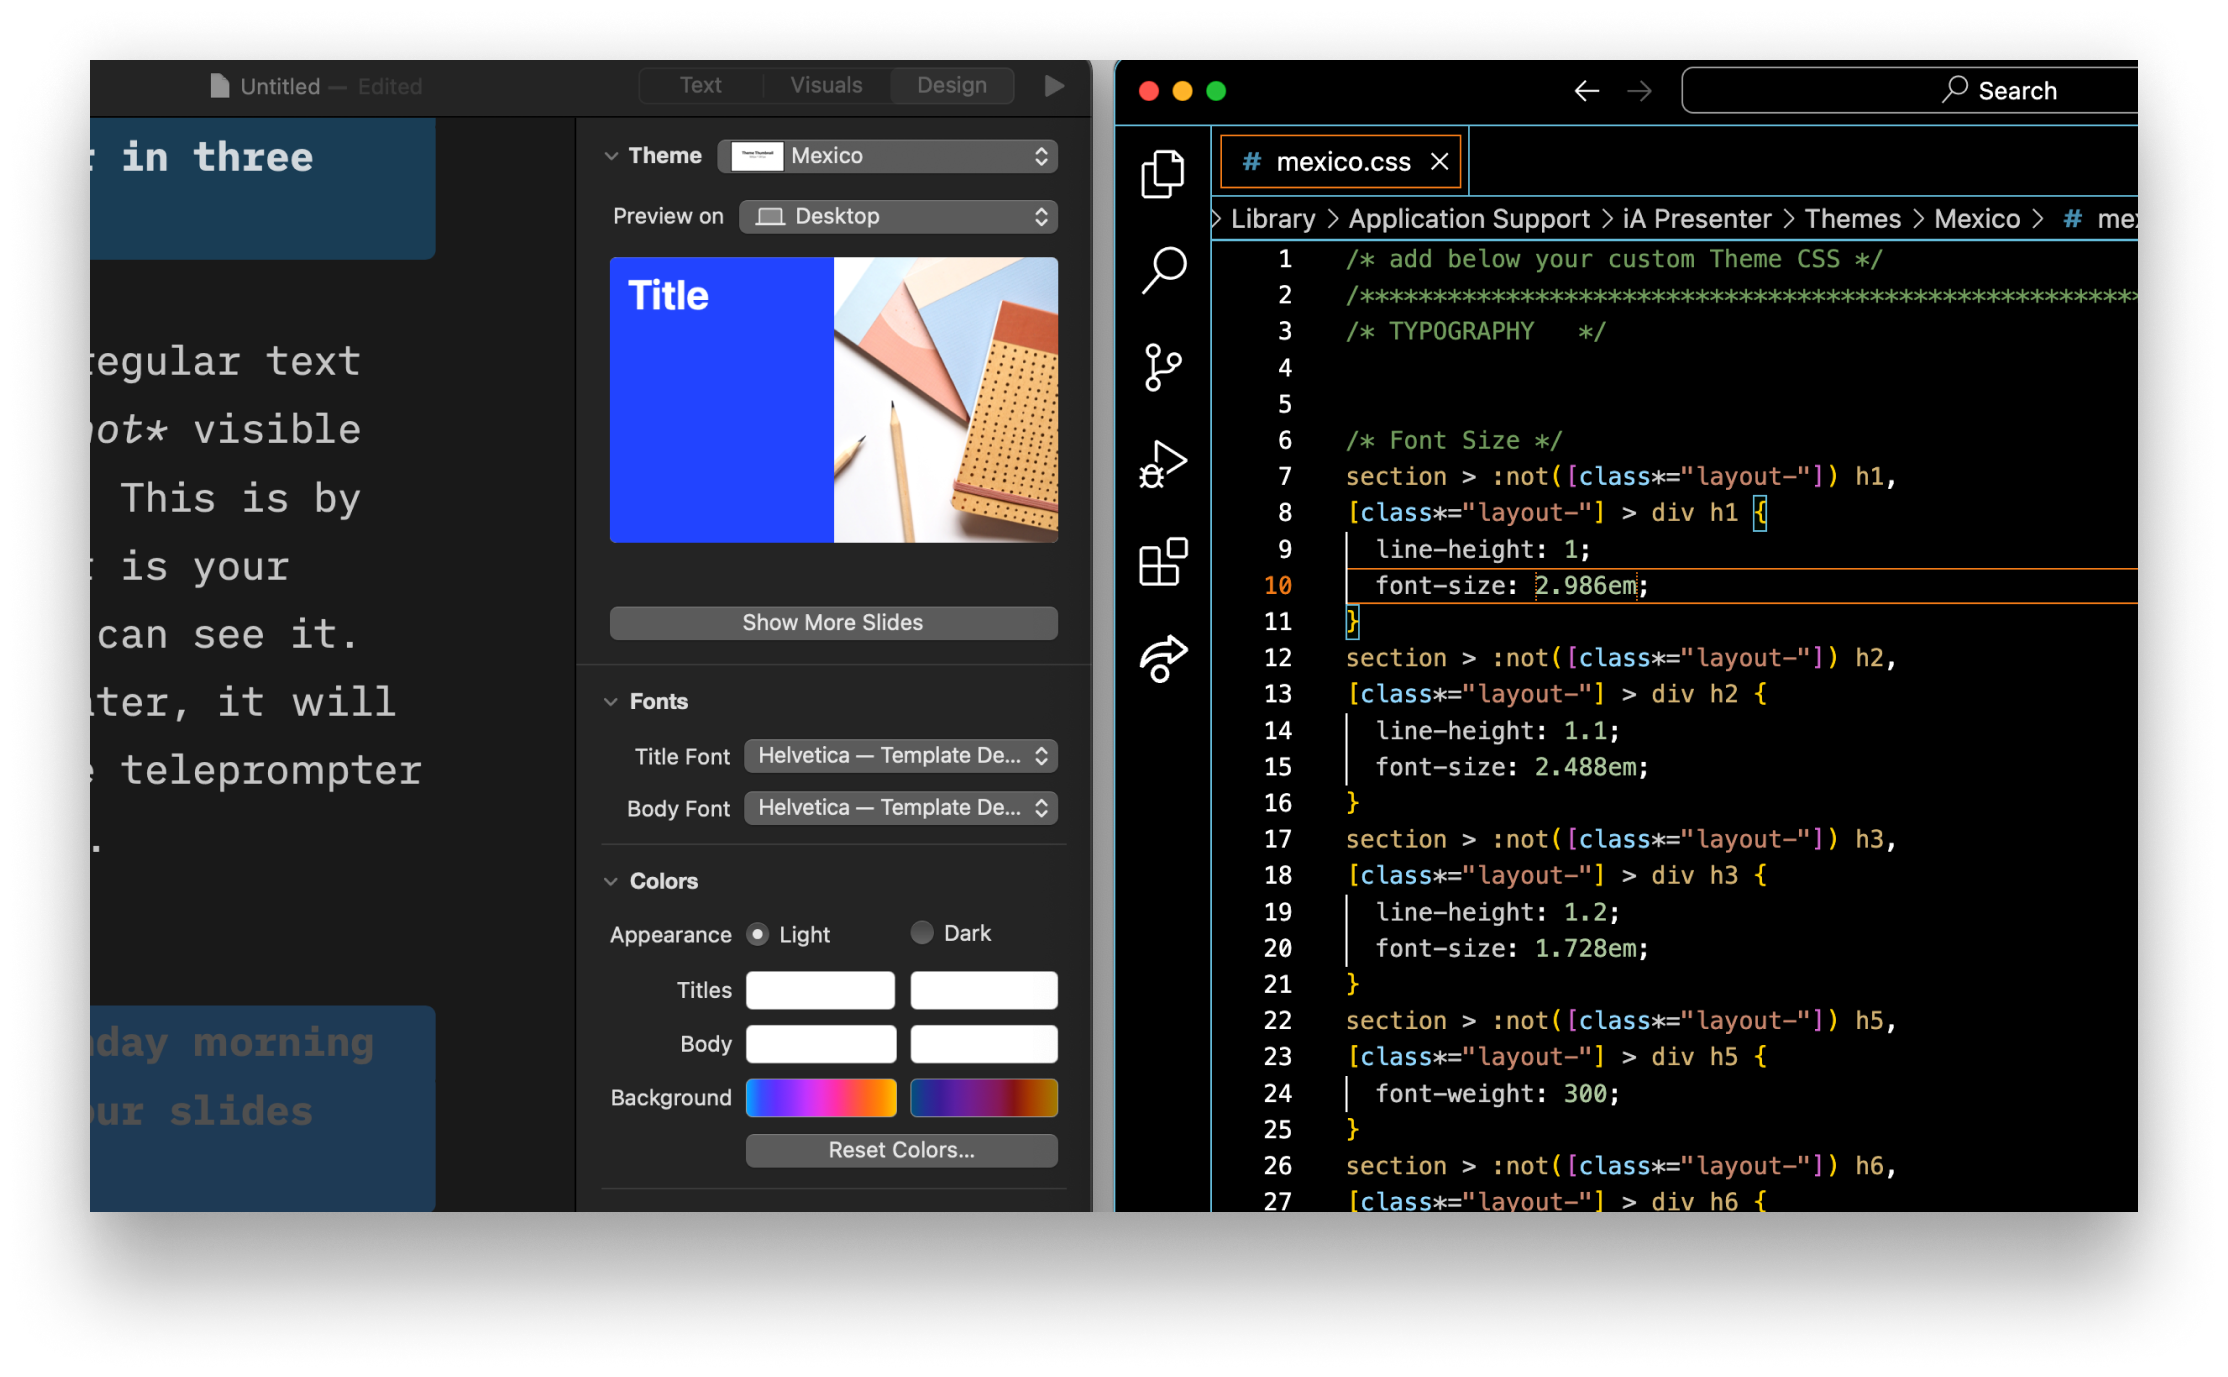
If you’re comfortable using CSS, you can create a CSS Class within a Custom Theme and apply it to a content block as an image.
When calling the CSS Class from your custom theme in the Editor, please use this simple syntax: Class: your css class name
💡 Responsively rendering images in iA Presenter is a complex process. We don’t recommend adding CSS classes or making other adjustments to force image placement, as this could lead to unexpected results depending on what devices your audience use.
Descriptions
Best practice with images is assign both a title and alternative text to improve accessibility.
Adding Captions
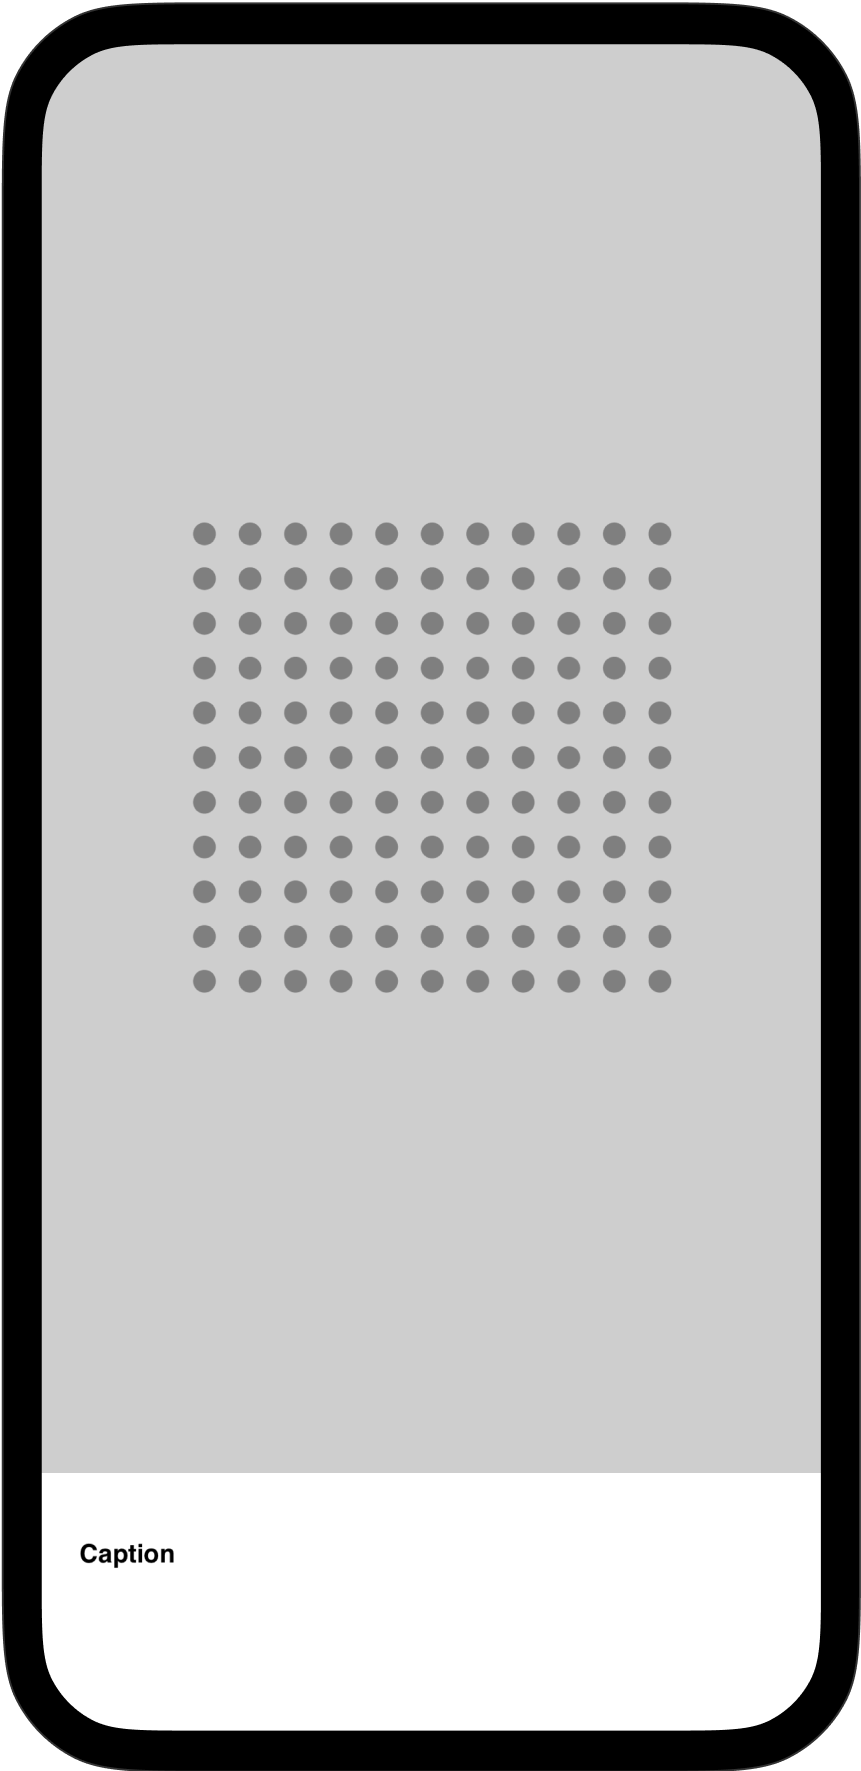
To display a caption, add it as an H4 heading by typing #### before your caption text, along with the image.
The caption’s position depends on the order in which you place those elements. The caption’s size stays the same, no matter which order you choose.
Add the H4 heading first if you want it to introduce or briefly describe the image beneath it. Display the image first if you want it to be more prominent, while the caption beneath it provides secondary detail or context.


 Visuals
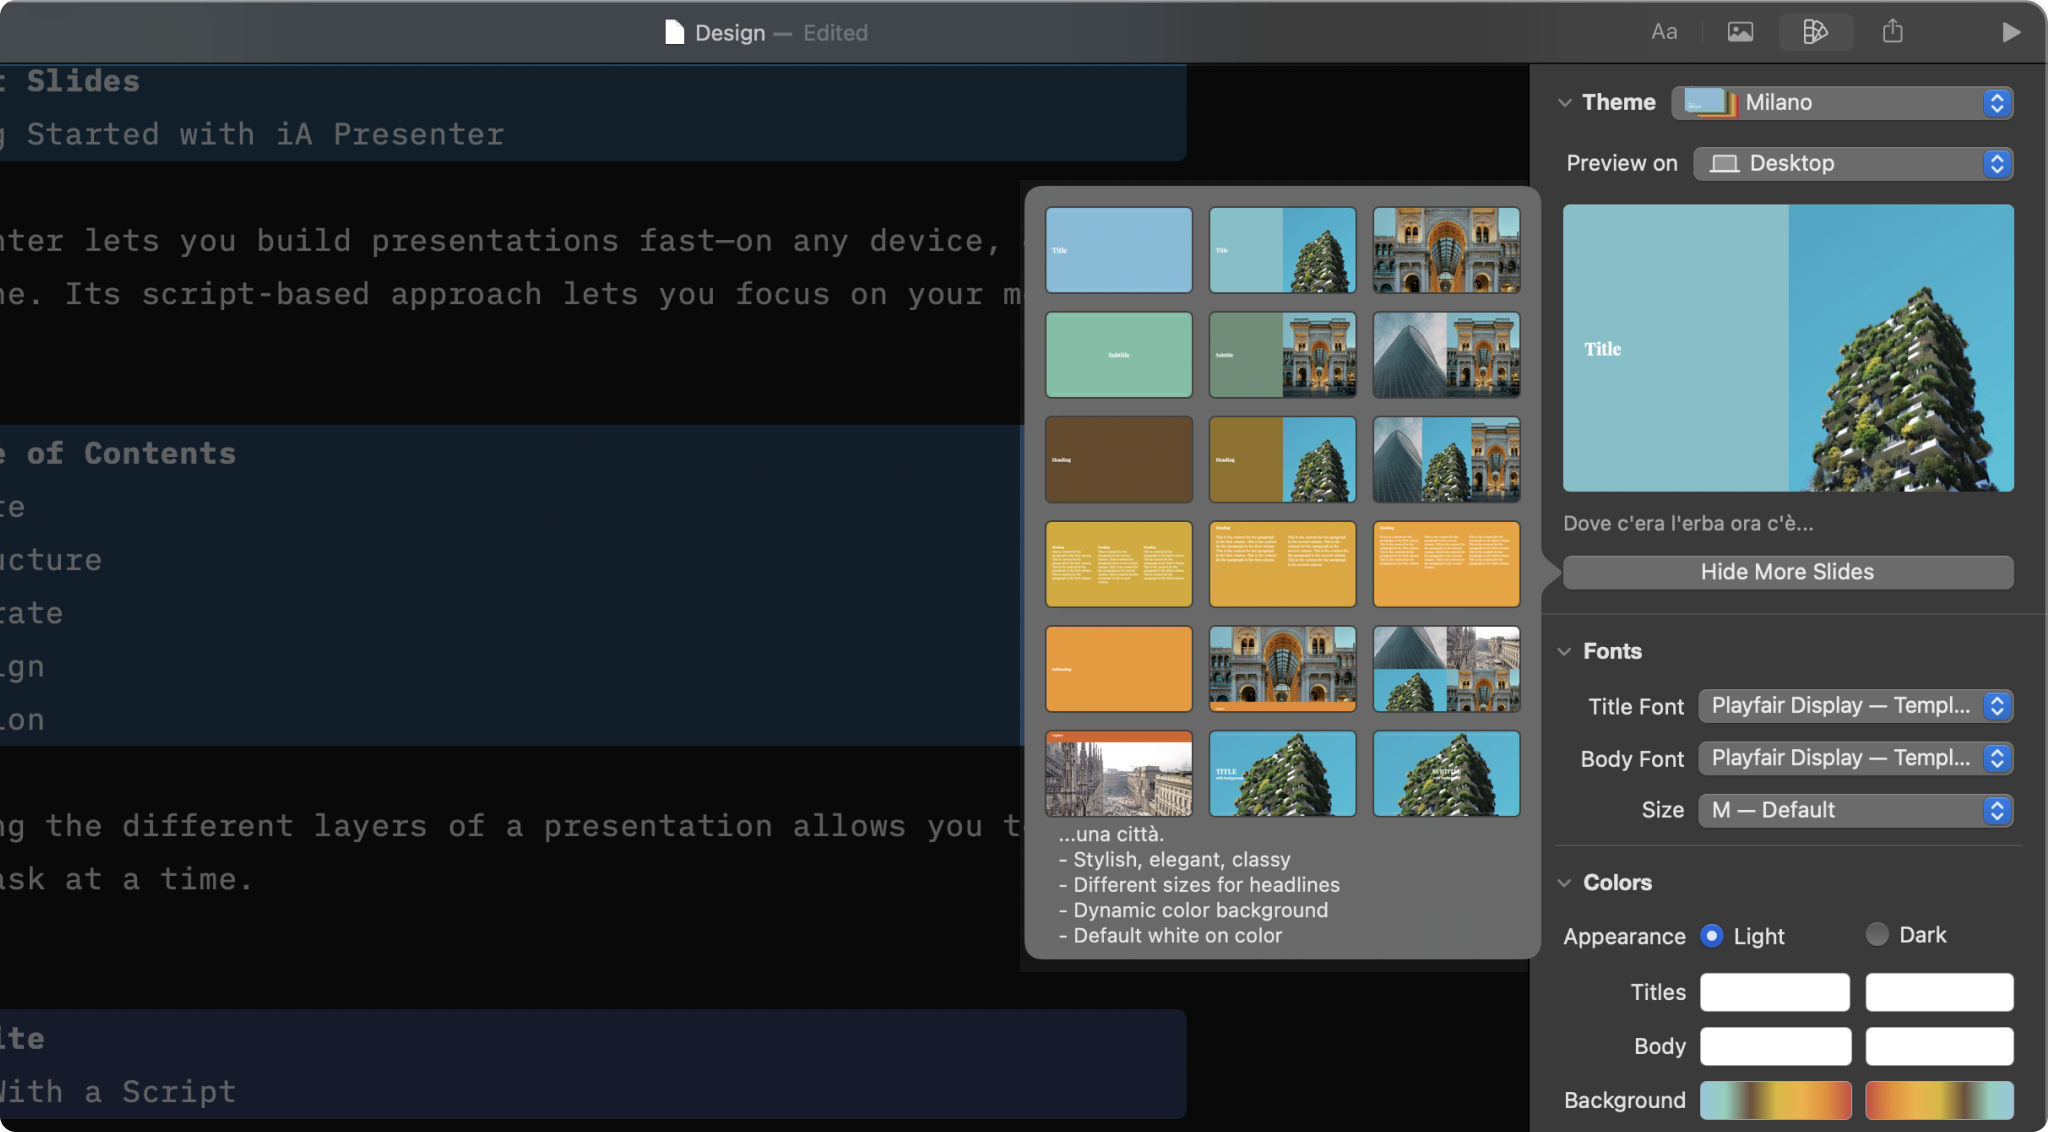
Design
Select a theme and slightly tweak it from the Design Menu

Layouts
Add your text and images, and Presenter picks the right layout for you.
Videos
Learn how to link to YouTube and add local videos to your presentation.
Themes
Explore the variety of themes offered in the app and the design principles that shaped each of them.
Custom Themes
For those comfortable with coding, built a custom theme from scratch with HTML and CSS.