Videos
Adding local videos to your presentation is as easy as drag-and-dropping local files into the Editor—or linking directly to a YouTube video.
Supported Formats
Presenter supports these video formats:
| Format | Extension |
|---|---|
| M4V | .m4v |
| Moving Picture Expert Group 4 | .mp4 |
| Quicktime | .mov |
The Media Manager
Open the Media Manager tab in the Inspector on the upper right. From here, you can:
- See all your graphics (images and videos)
- Drag-and-drop graphics into the Editor
- Delete graphics
- Rename them (don't forget the extension at the end, e.g.
.mp4) - Add YouTube videos as a link

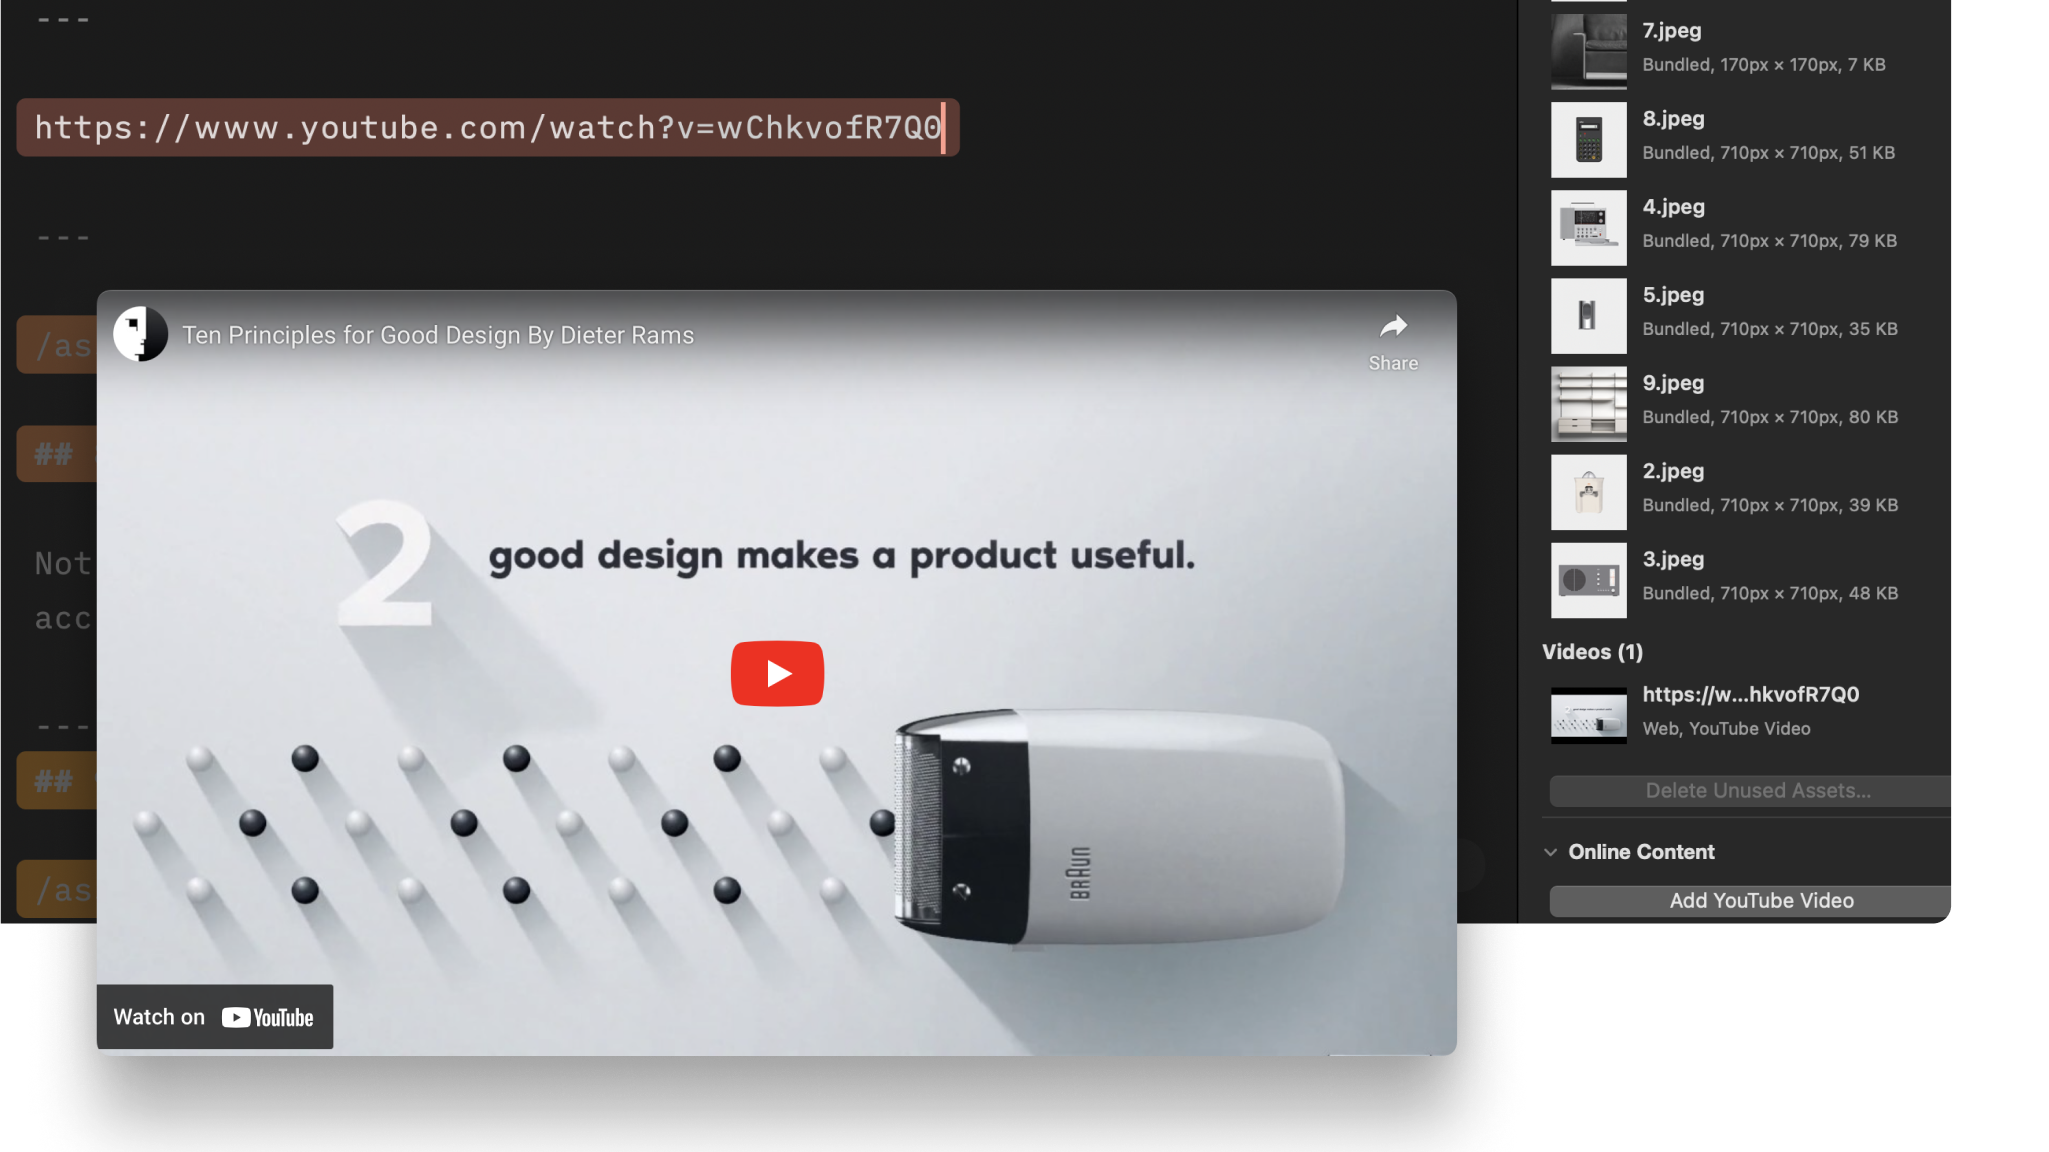
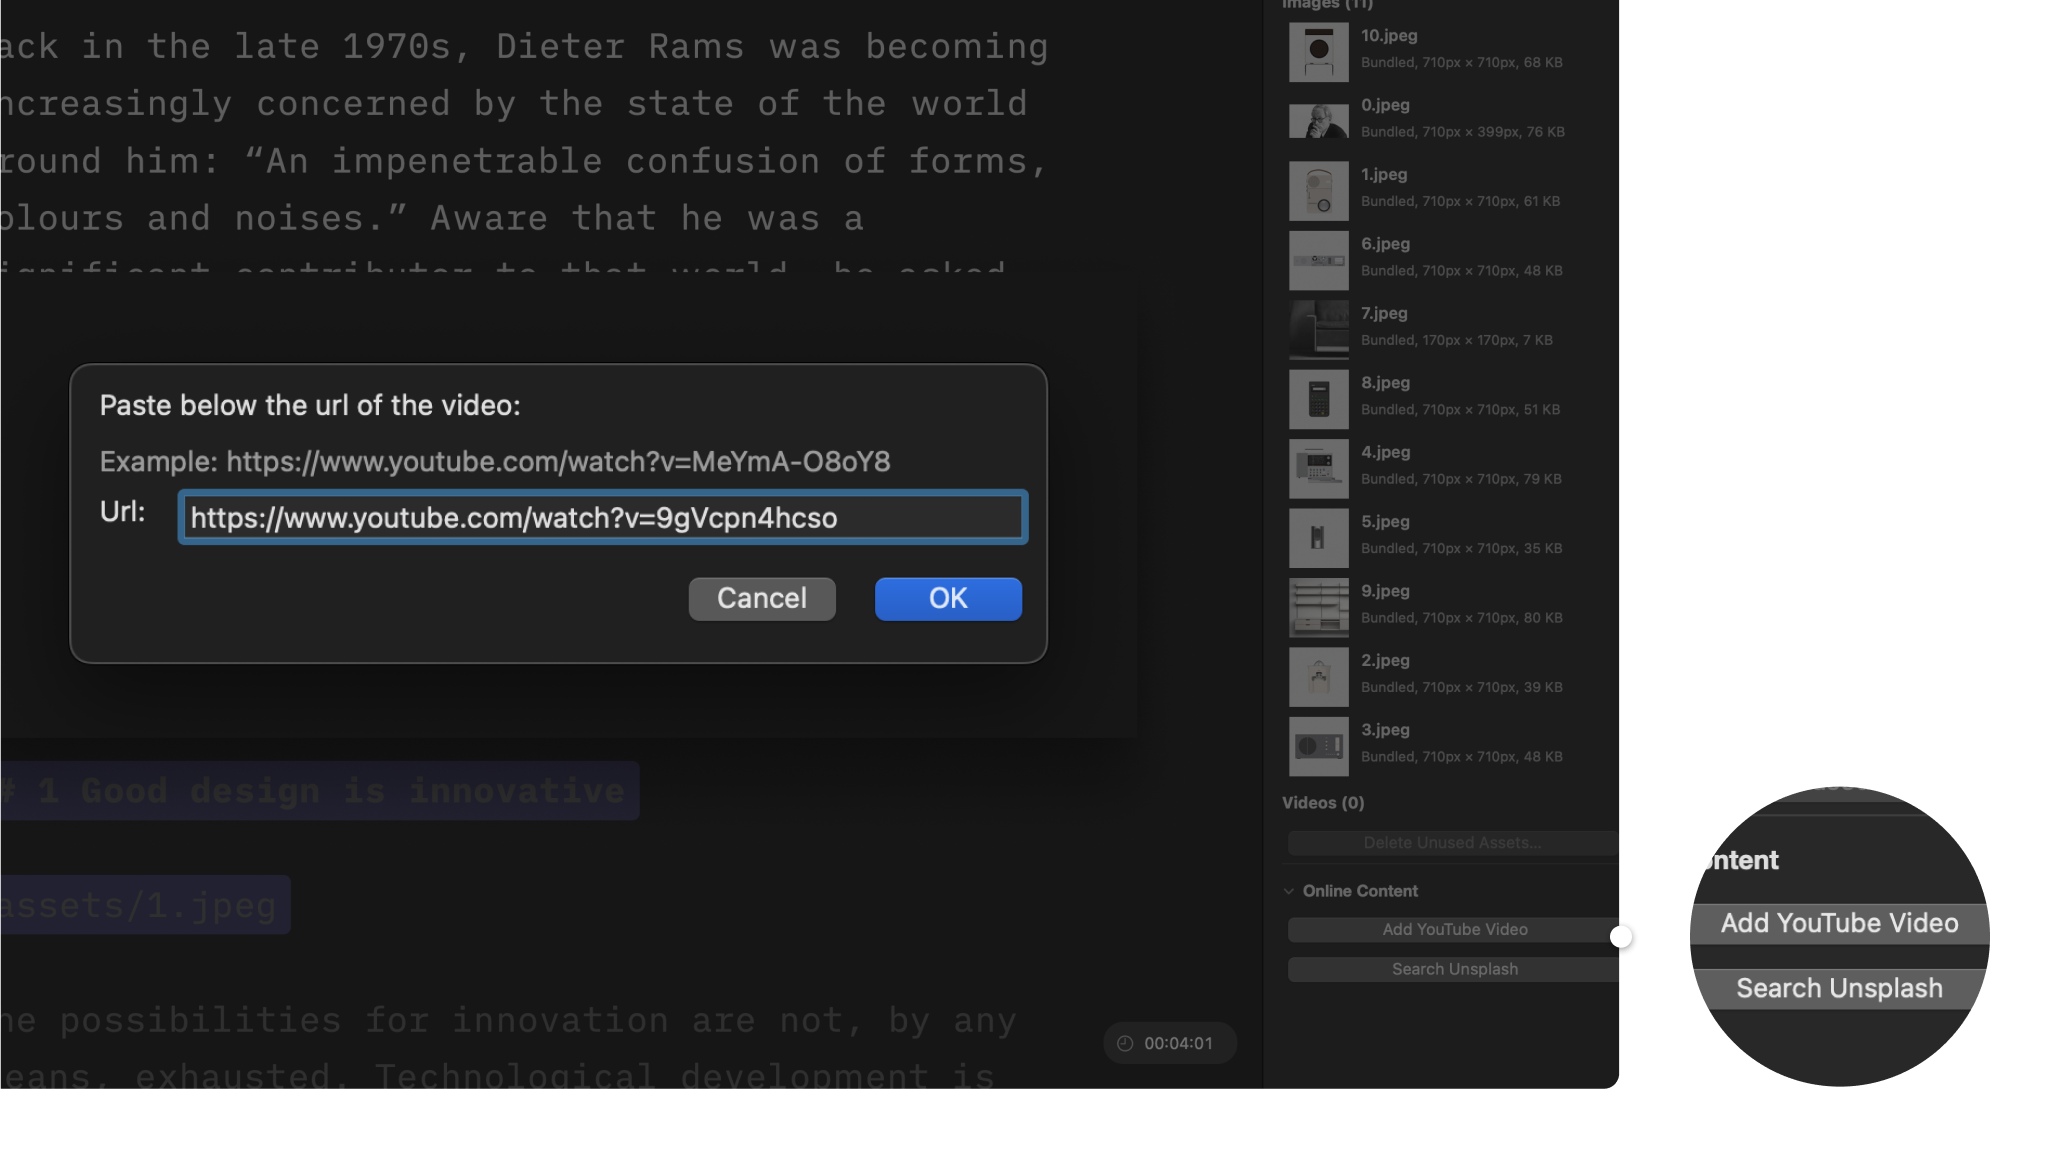
Adding YouTube Videos
To add a YouTube video, copy the URL from your browser, click the Add YouTube Video button in the Inspector’s Media Manager tab, and paste.
Using Markdown for Videos
Presenter supports Markdown syntax for images and videos , but you’ll find it’s easier to use Content Blocks Syntax instead.
Enter the video’s path in Presenter. Presenter uses two virtual folders:
Assetsfor graphics added to the presentation, e.g./assets/video.movThemeto reference graphics bundled with a theme, e.g./Theme/video.mov
Changing Local Video Settings
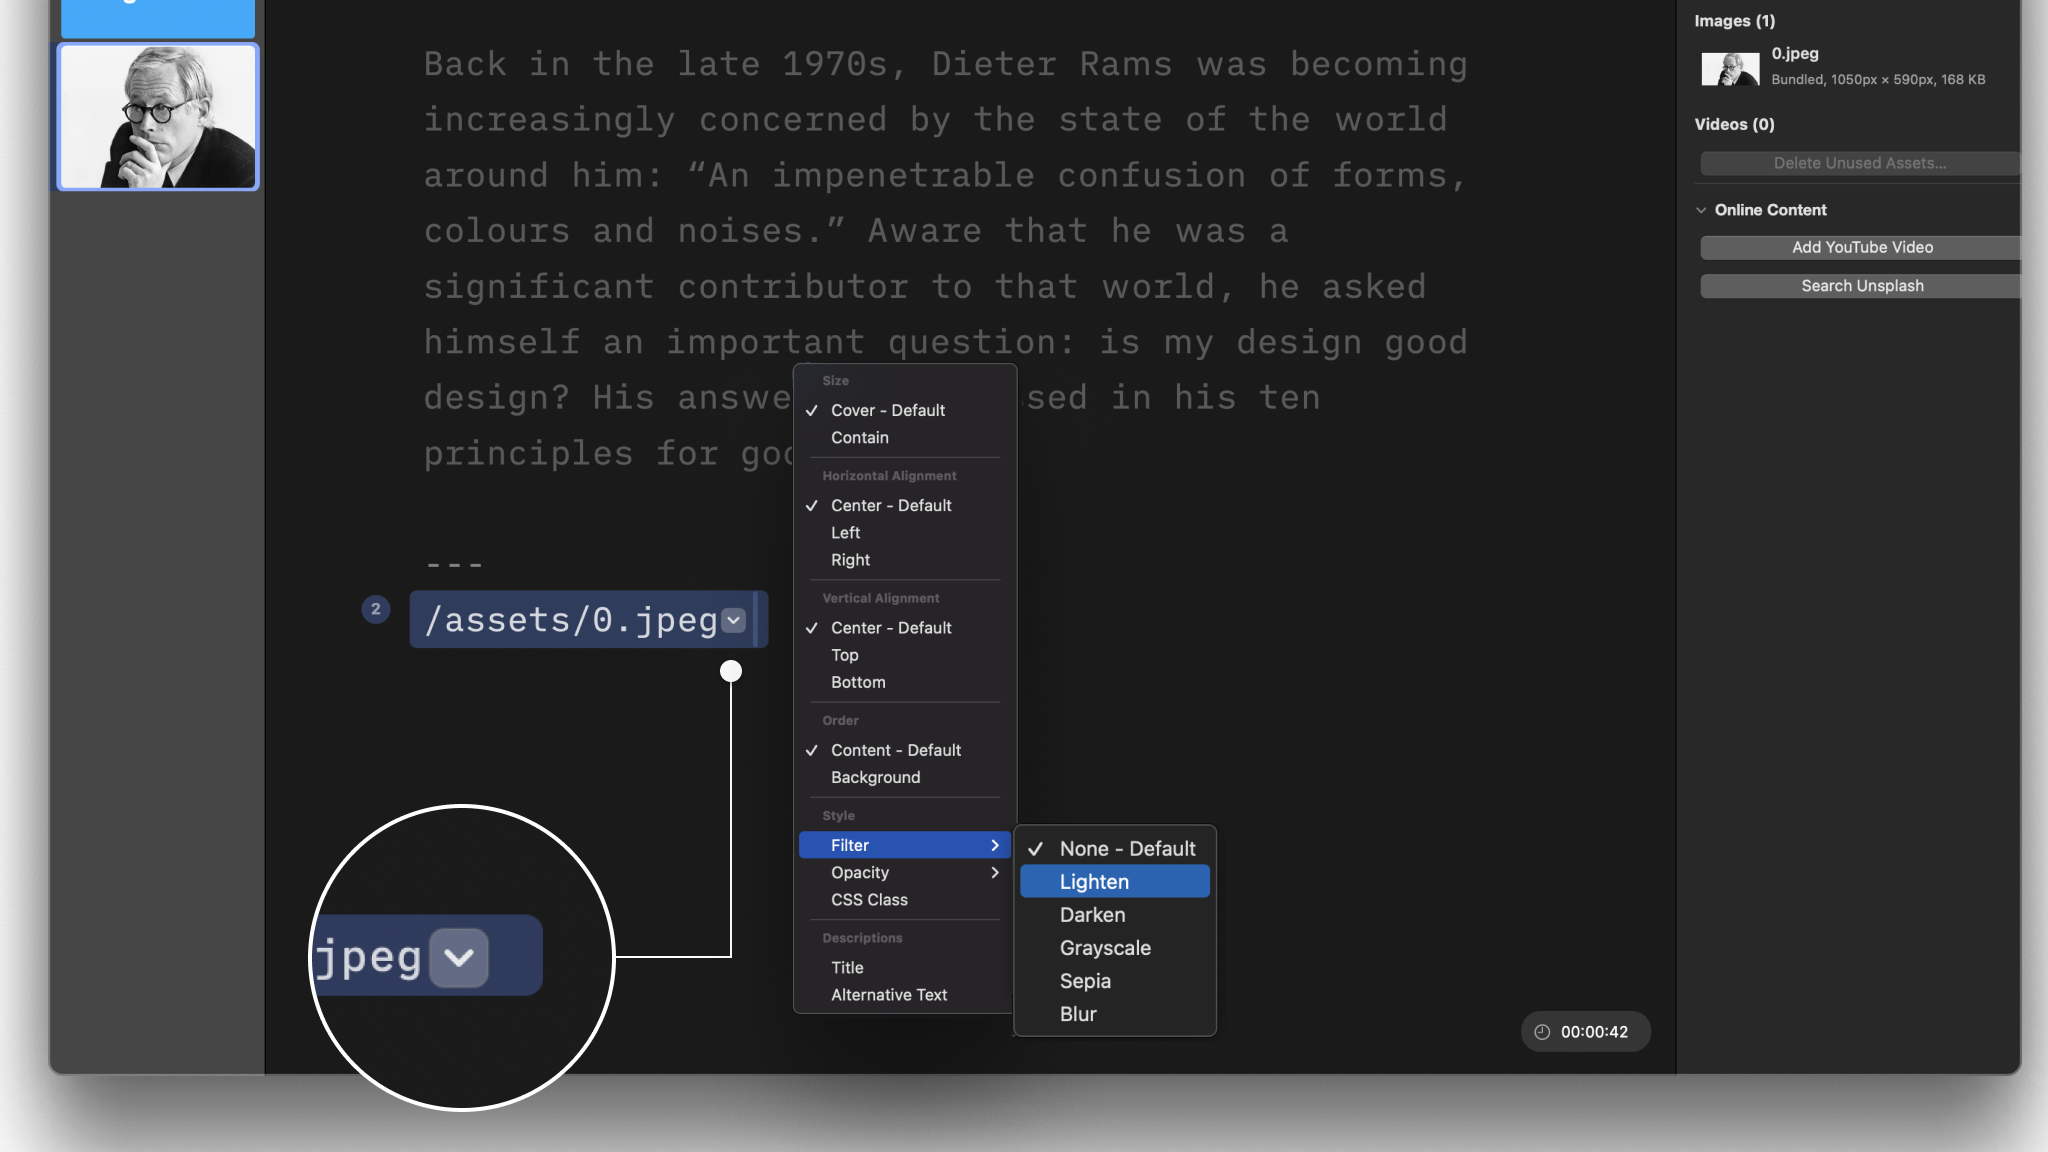
You can change a local video’s (and image’s) size, position and other settings with Content Blocks Syntax metadata. To do so, click the dropdown chevron V at the end of the video’s path and select your layout preference.

Sizes
1. Cover
Select this option to have the video fill all available space while preserving its aspect ratio. Note that the video will be clipped if it doesn’t exactly match the container’s aspect ratio.
2. Contain
Presenter videos live in a space called containers. Depending on the layout, a container can be the full slide, a column, or just a cell if you’re using a grid layout.
A video will fill all available space while preserving its aspect ratio, so it will appear letterboxed if its aspect ratio doesn’t match that of the container.

Positioning
You have the choice between:
- Center (default), Left and Right for Horizontal Alignment
- Center (default), Top and Bottom for Vertical Alignment
Vertical and horizontal positions depend on the video’s aspect ratio and the container it’s in.
Filter and Opacity
For local videos, you can add filters (Lighten, Darken, Grayscale, Sepia, Blur) and change a video’s opacity, but you’ll find these options work better with images instead of videos.
Filter and opacity options are not available for videos that link directly from YouTube.
We recommend adding YouTube videos to an empty slide, which will make them display at maximum size during playback.
CSS Class
If you’re comfortable using CSS, you can create a CSS Class within a Custom Theme and apply it to a content block in the presentation, as here, an image or a video.
When calling the CSS Class from your Custom Theme in the Editor, use this syntax: Class: your css class name
💡 Responsively rendering images in iA Presenter is a complex process. We generally don’t recommend adding CSS classes or other adjustments to force graphic placement, as this could lead to unexpected results depending on the devices your audience uses.
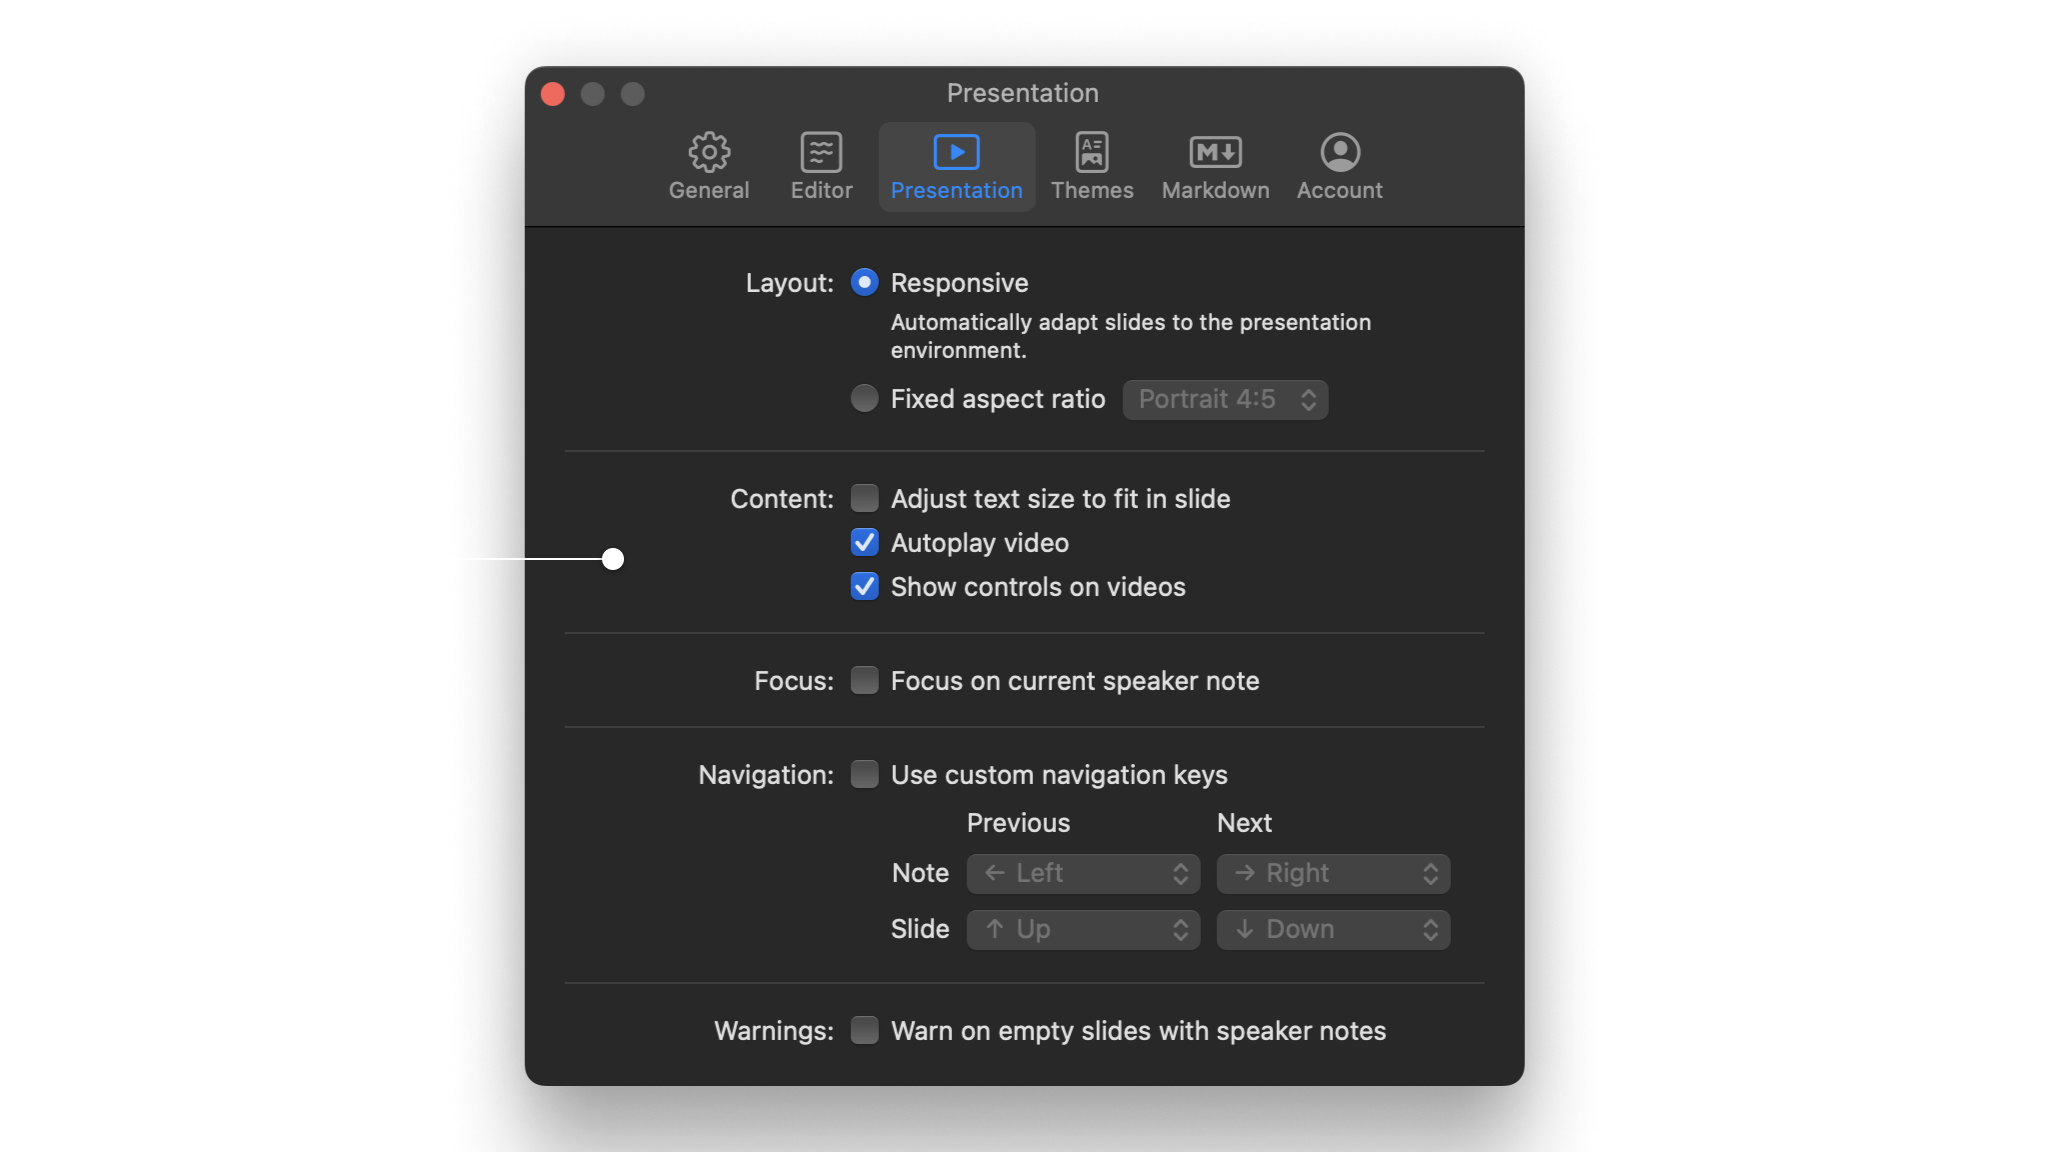
Video Settings
From the main menu, click iA Presenter, select Settings, and open the Presentation tab for further video options:
- Enable or disable video autoplay
- Show or hide video controls
 Visuals
Design
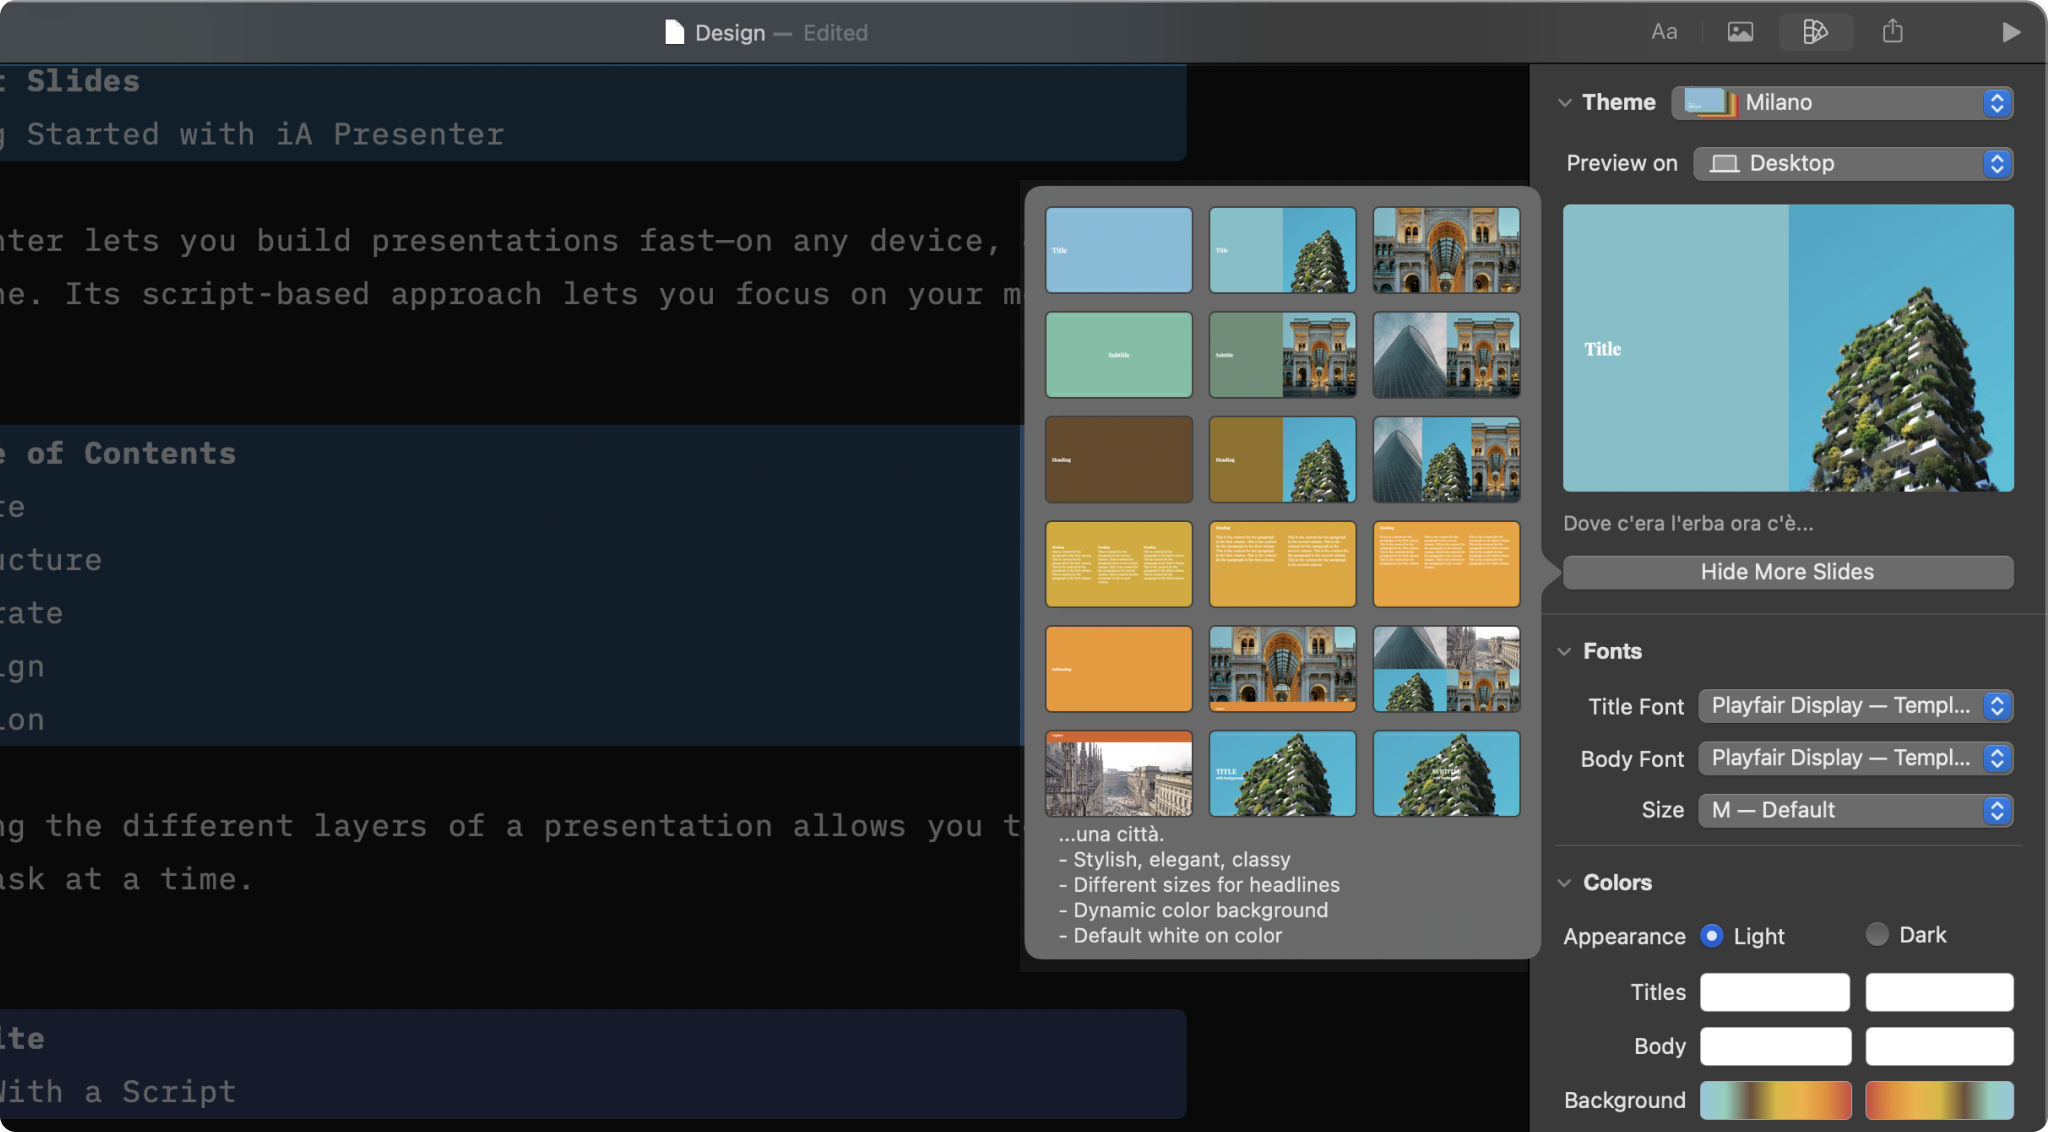
Select a theme and slightly tweak it from the Design Menu

Layouts
Add your text and images, and Presenter picks the right layout for you.
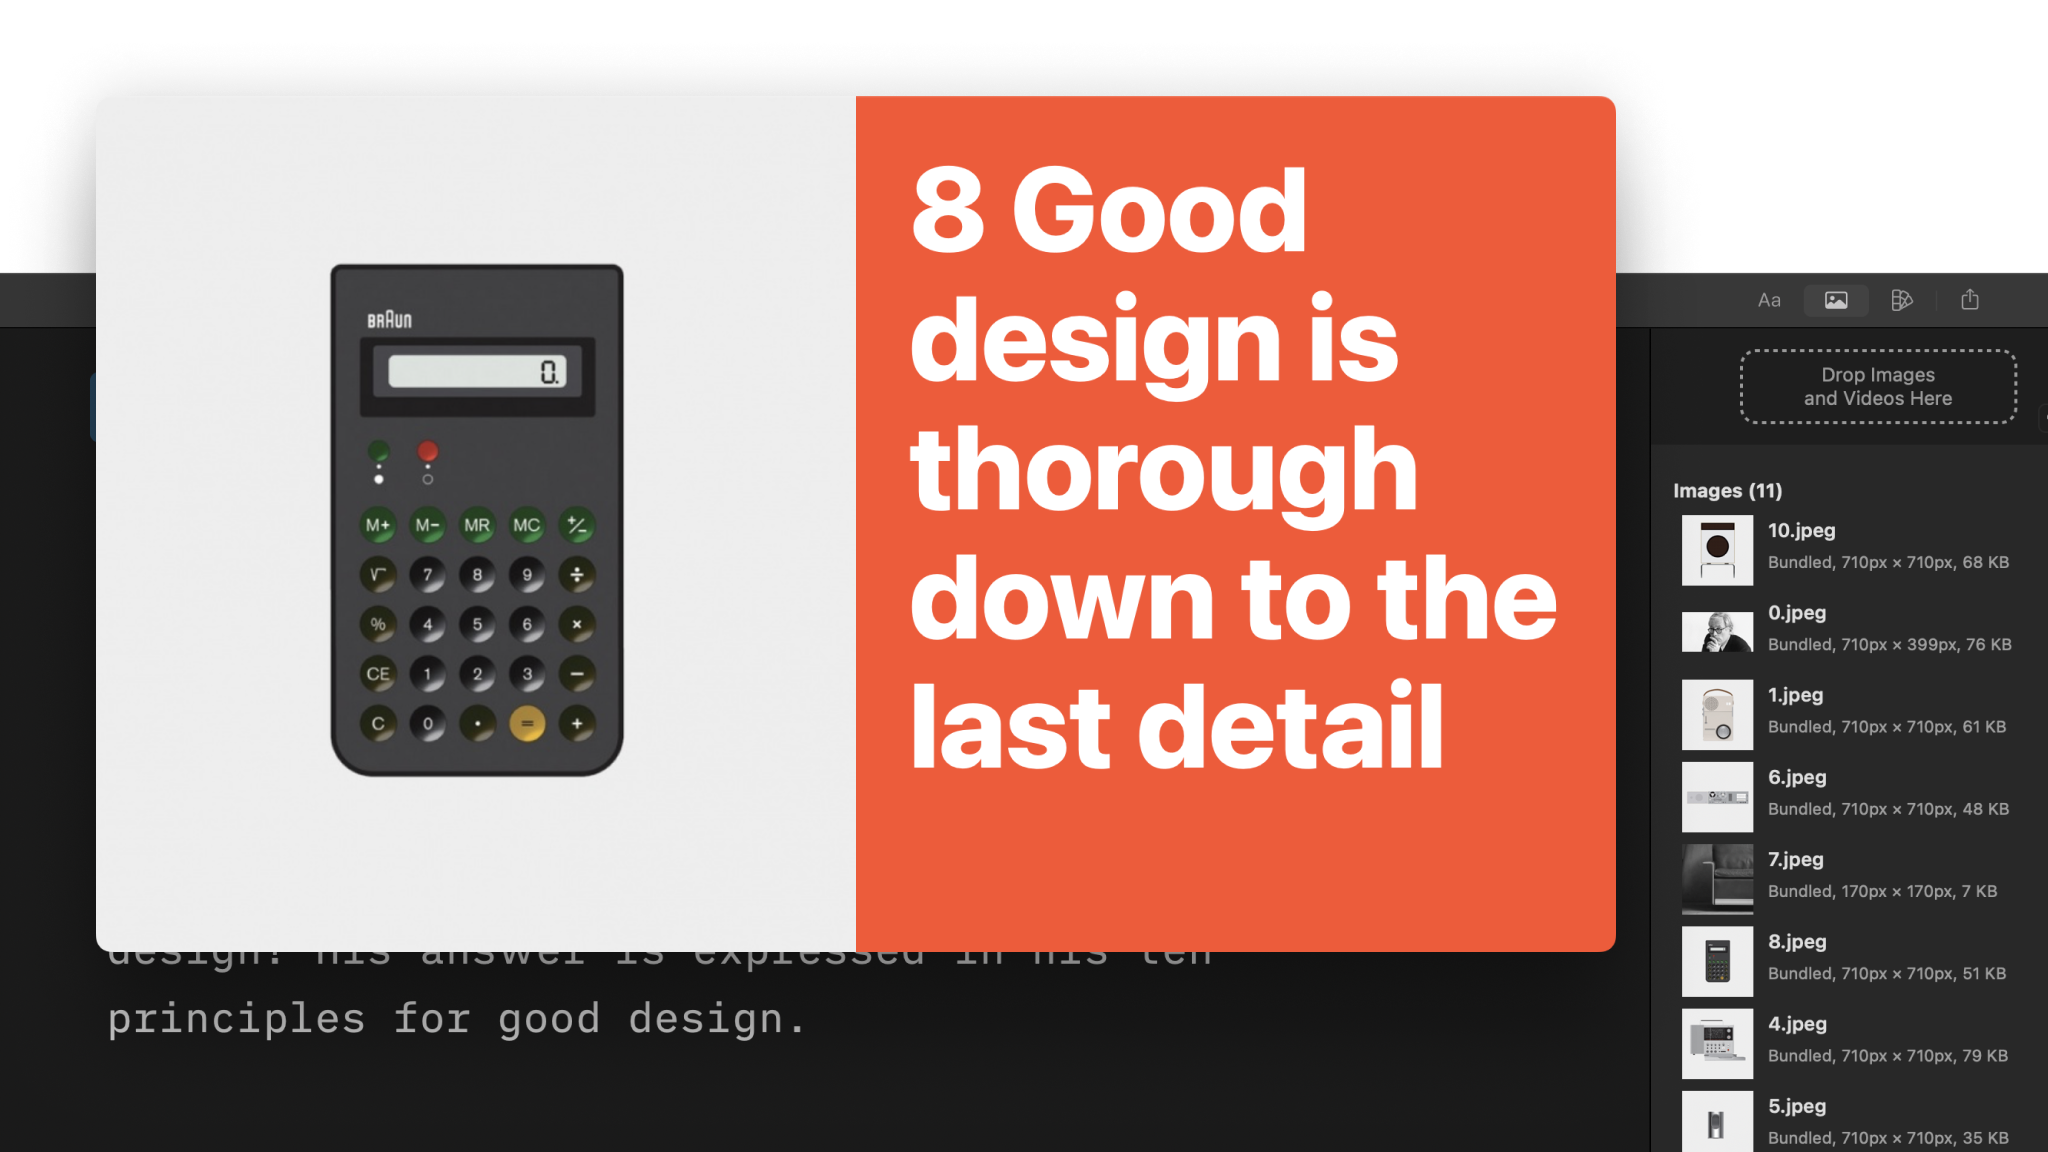
Images
Adding images to your presentations is as simple as a drag and drop.
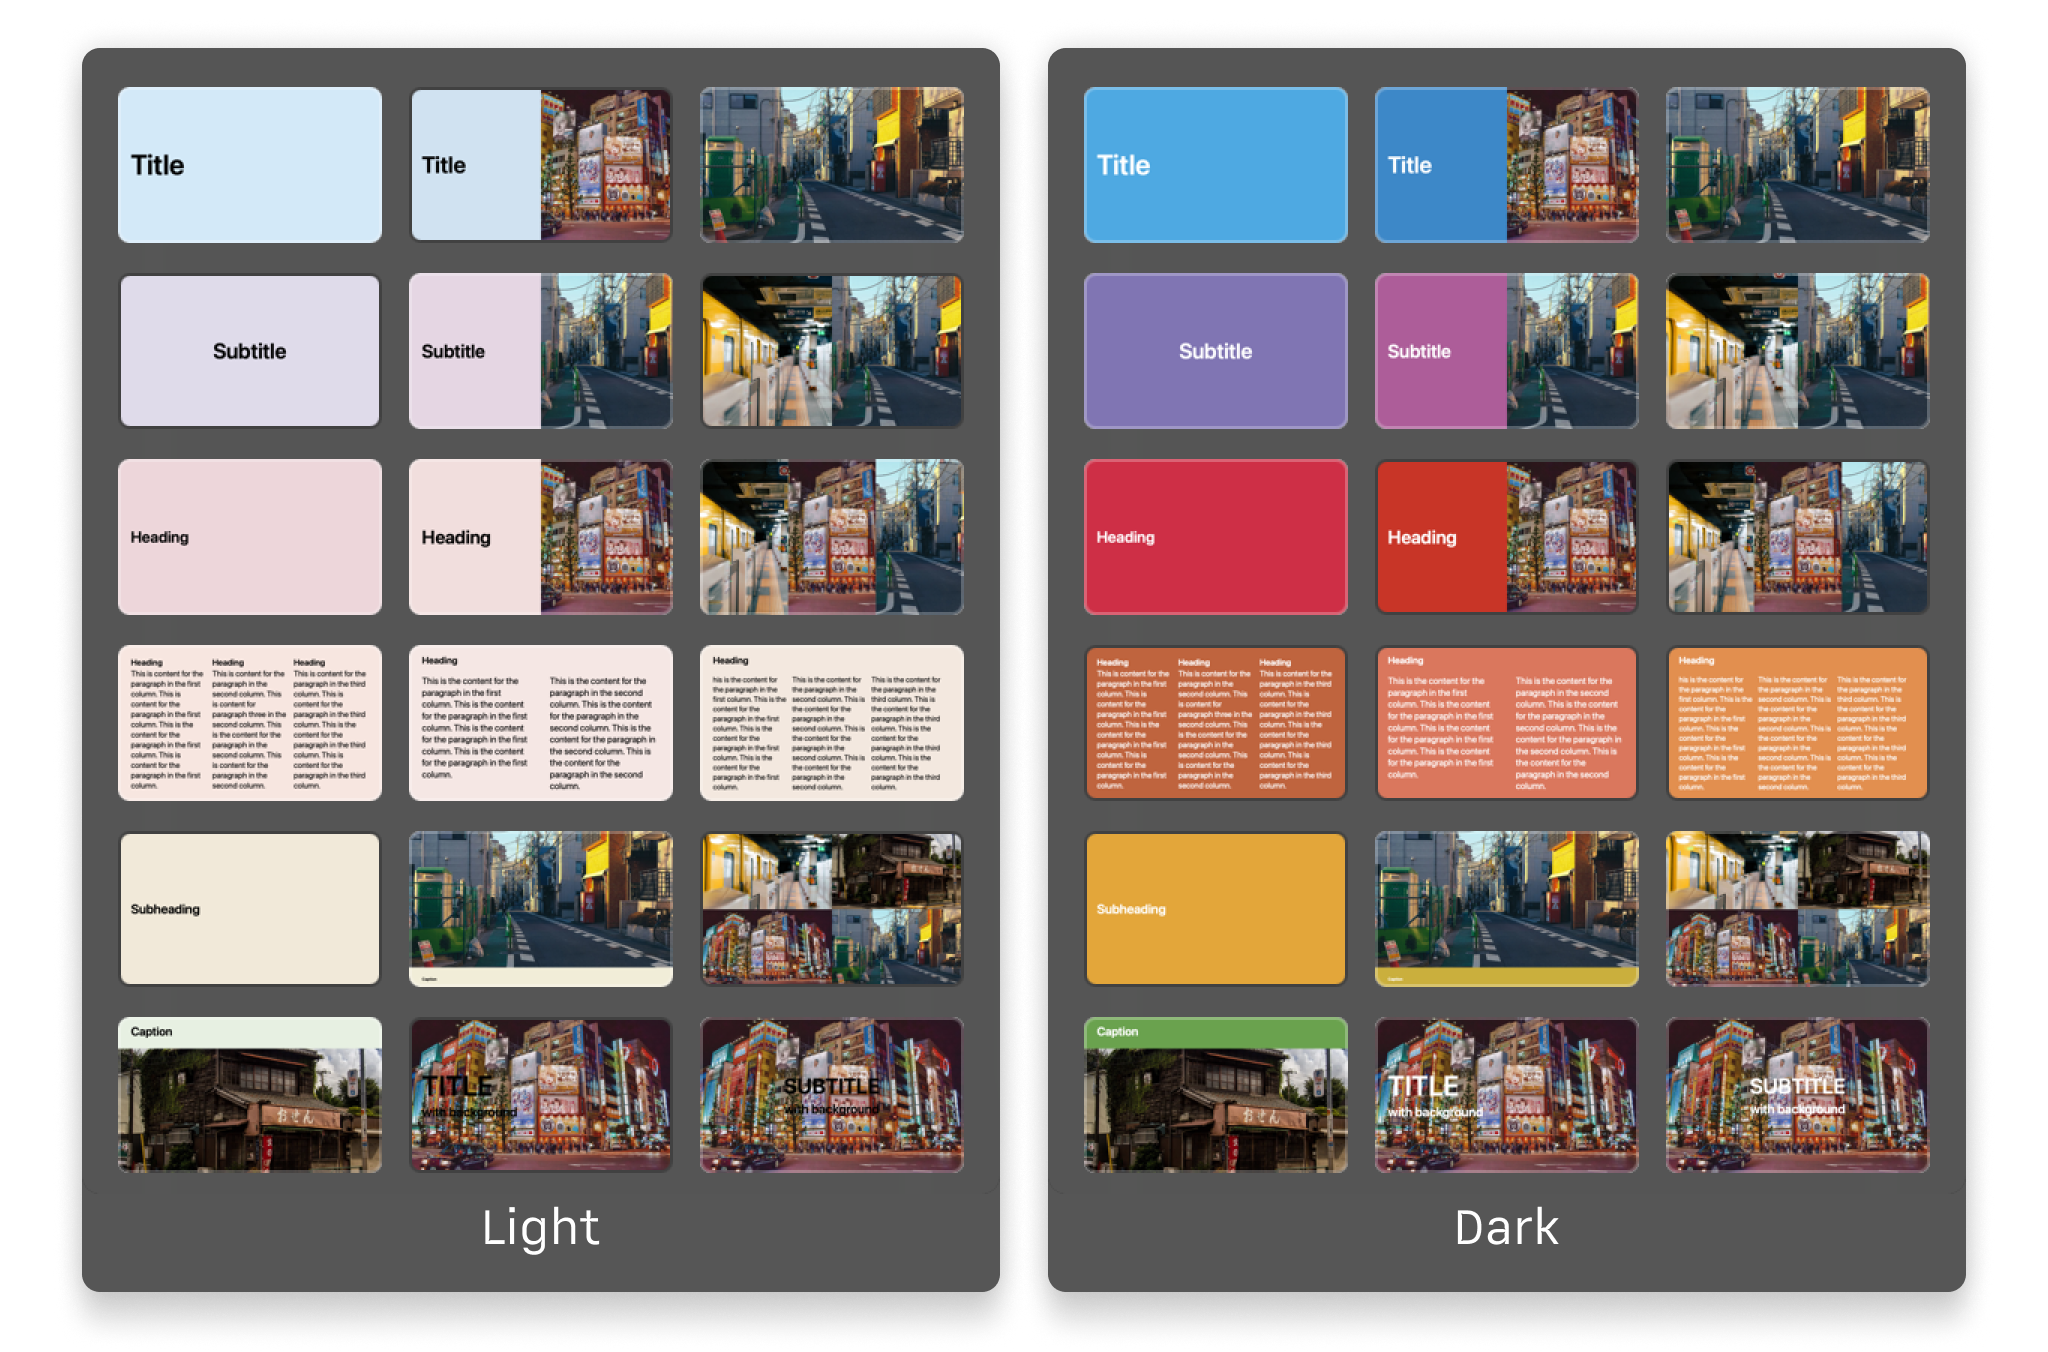
Themes
Explore the variety of themes offered in the app and the design principles that shaped each of them.
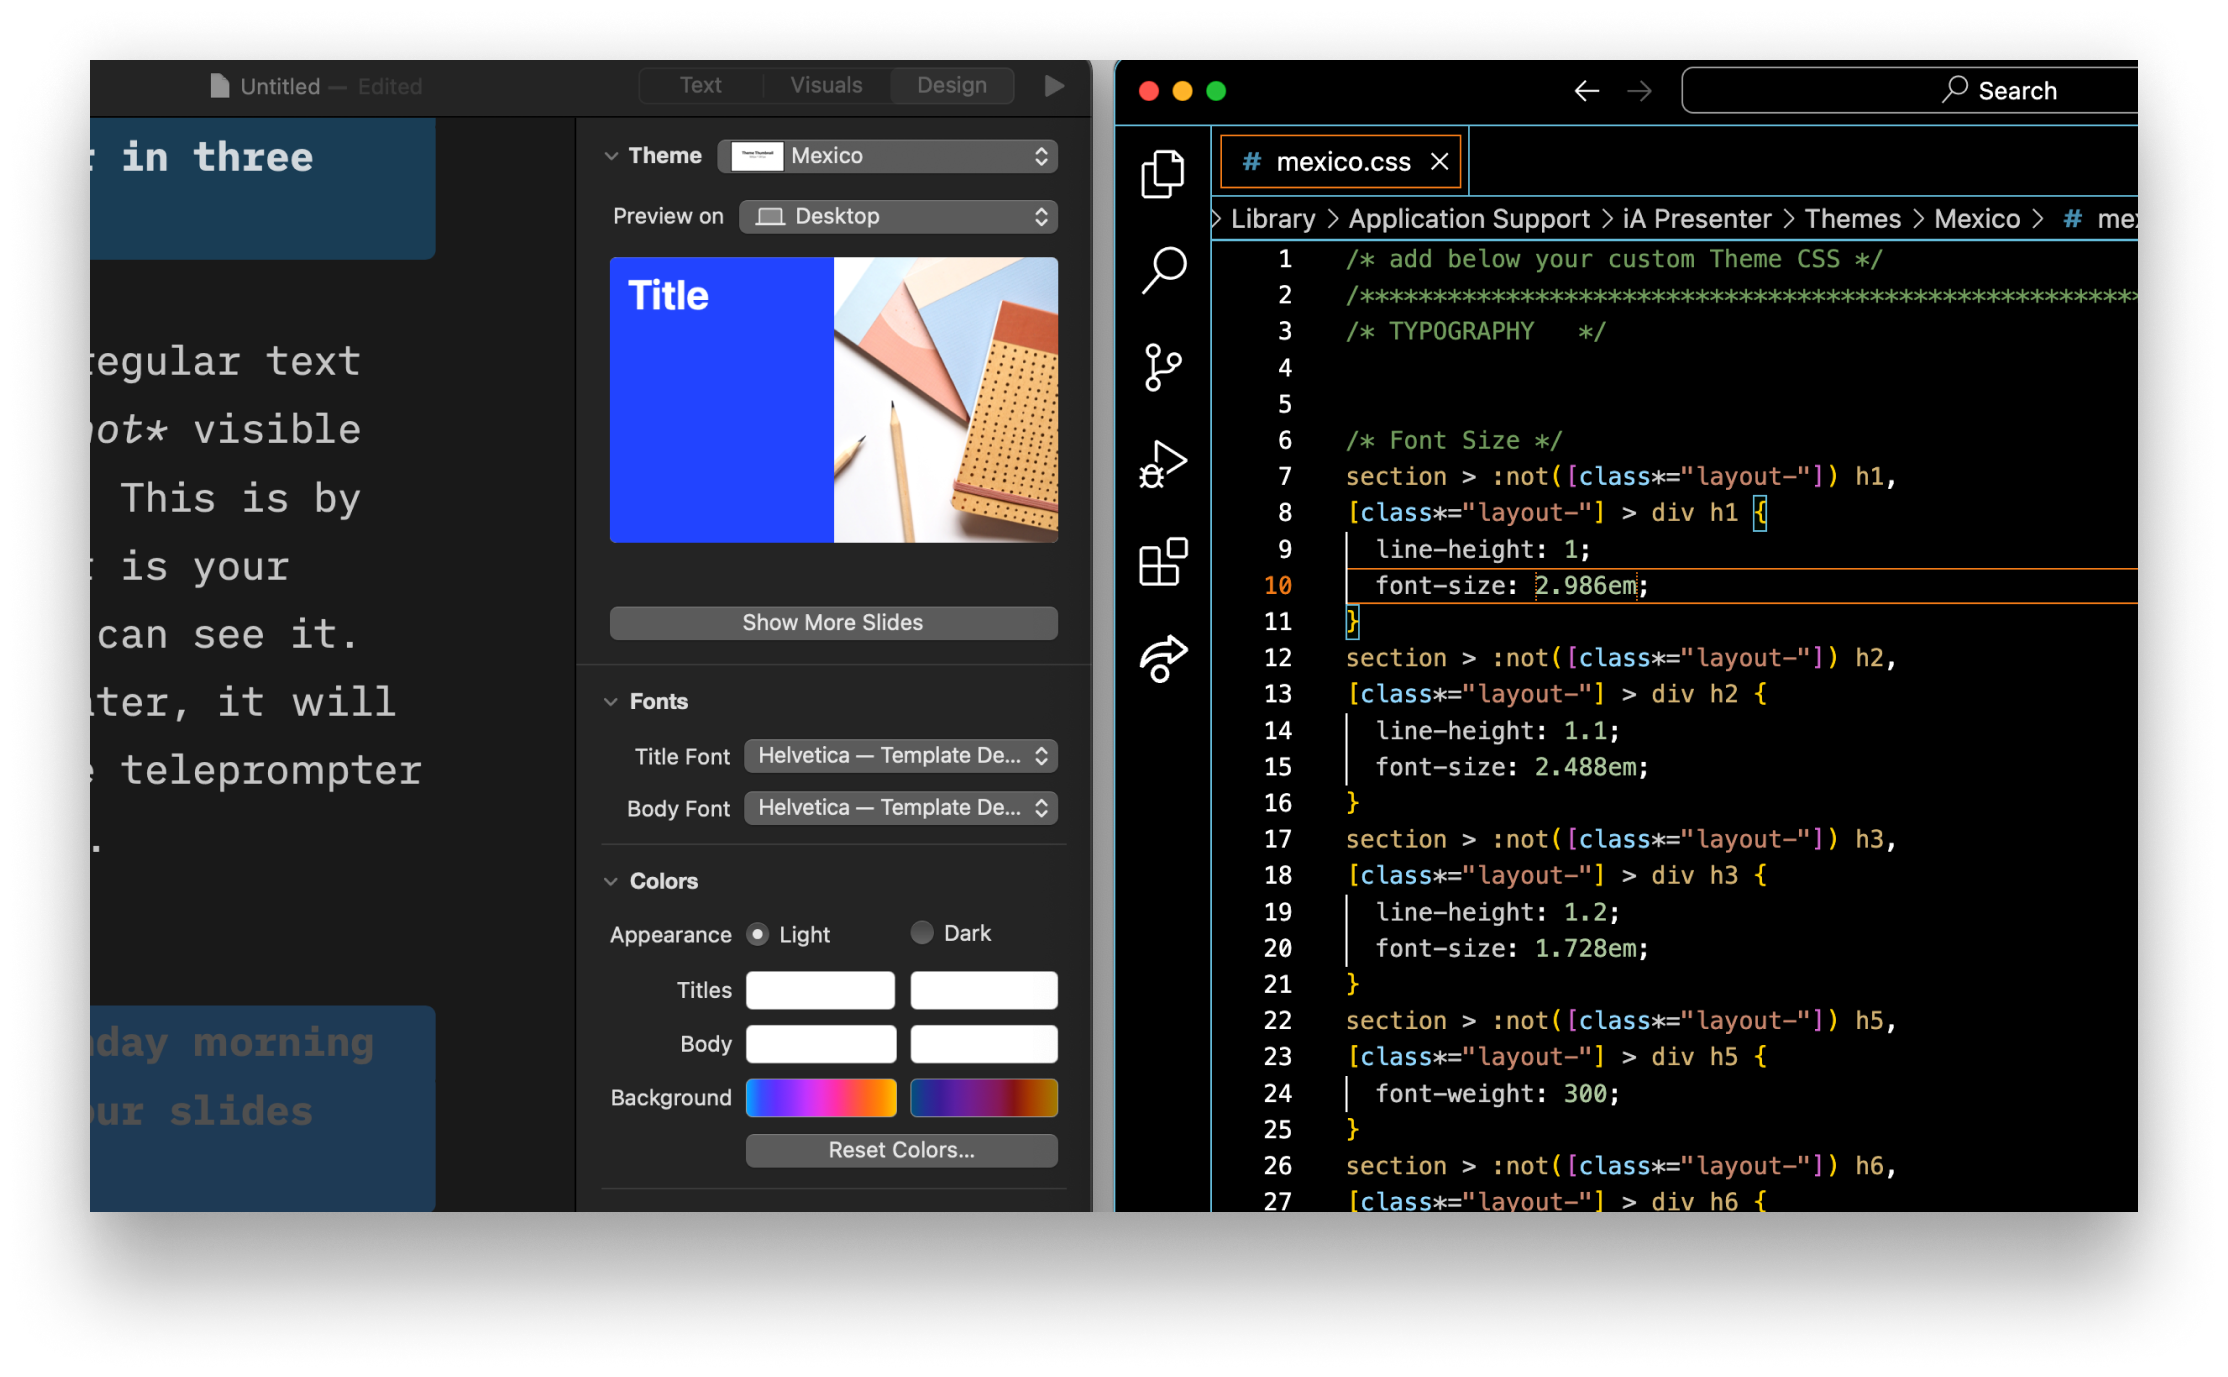
Custom Themes
For those comfortable with coding, built a custom theme from scratch with HTML and CSS.